Process

This is how I make bikes. More or less.

Updated July 2020. My process is always evolving and improving, so the steps listed here may be slightly different from what I do now.

.

Have a conversation with the customer.

Design frame geometry and chainstay layout and print drawings.

Main geometry drawing for my personal mountain bike
Chainstay drawing in use

Order material and machine parts (dropouts, head tube, brake mount, etc.)

Boxes of tubes
Custom sliding dropouts machined in house by me

Head tube and custom machined reinforcement rings

Facing a tapered head tube down to size on the lathe

Sliding ISO disc brake tab

Ovalize top tube. Dimple chain stays and bend seat tube for tire clearance if necessary.

Two ovalized top tubes

Seat tube bending setup

One bent Columbus HSS seat tube

Chainstay dimpling setup

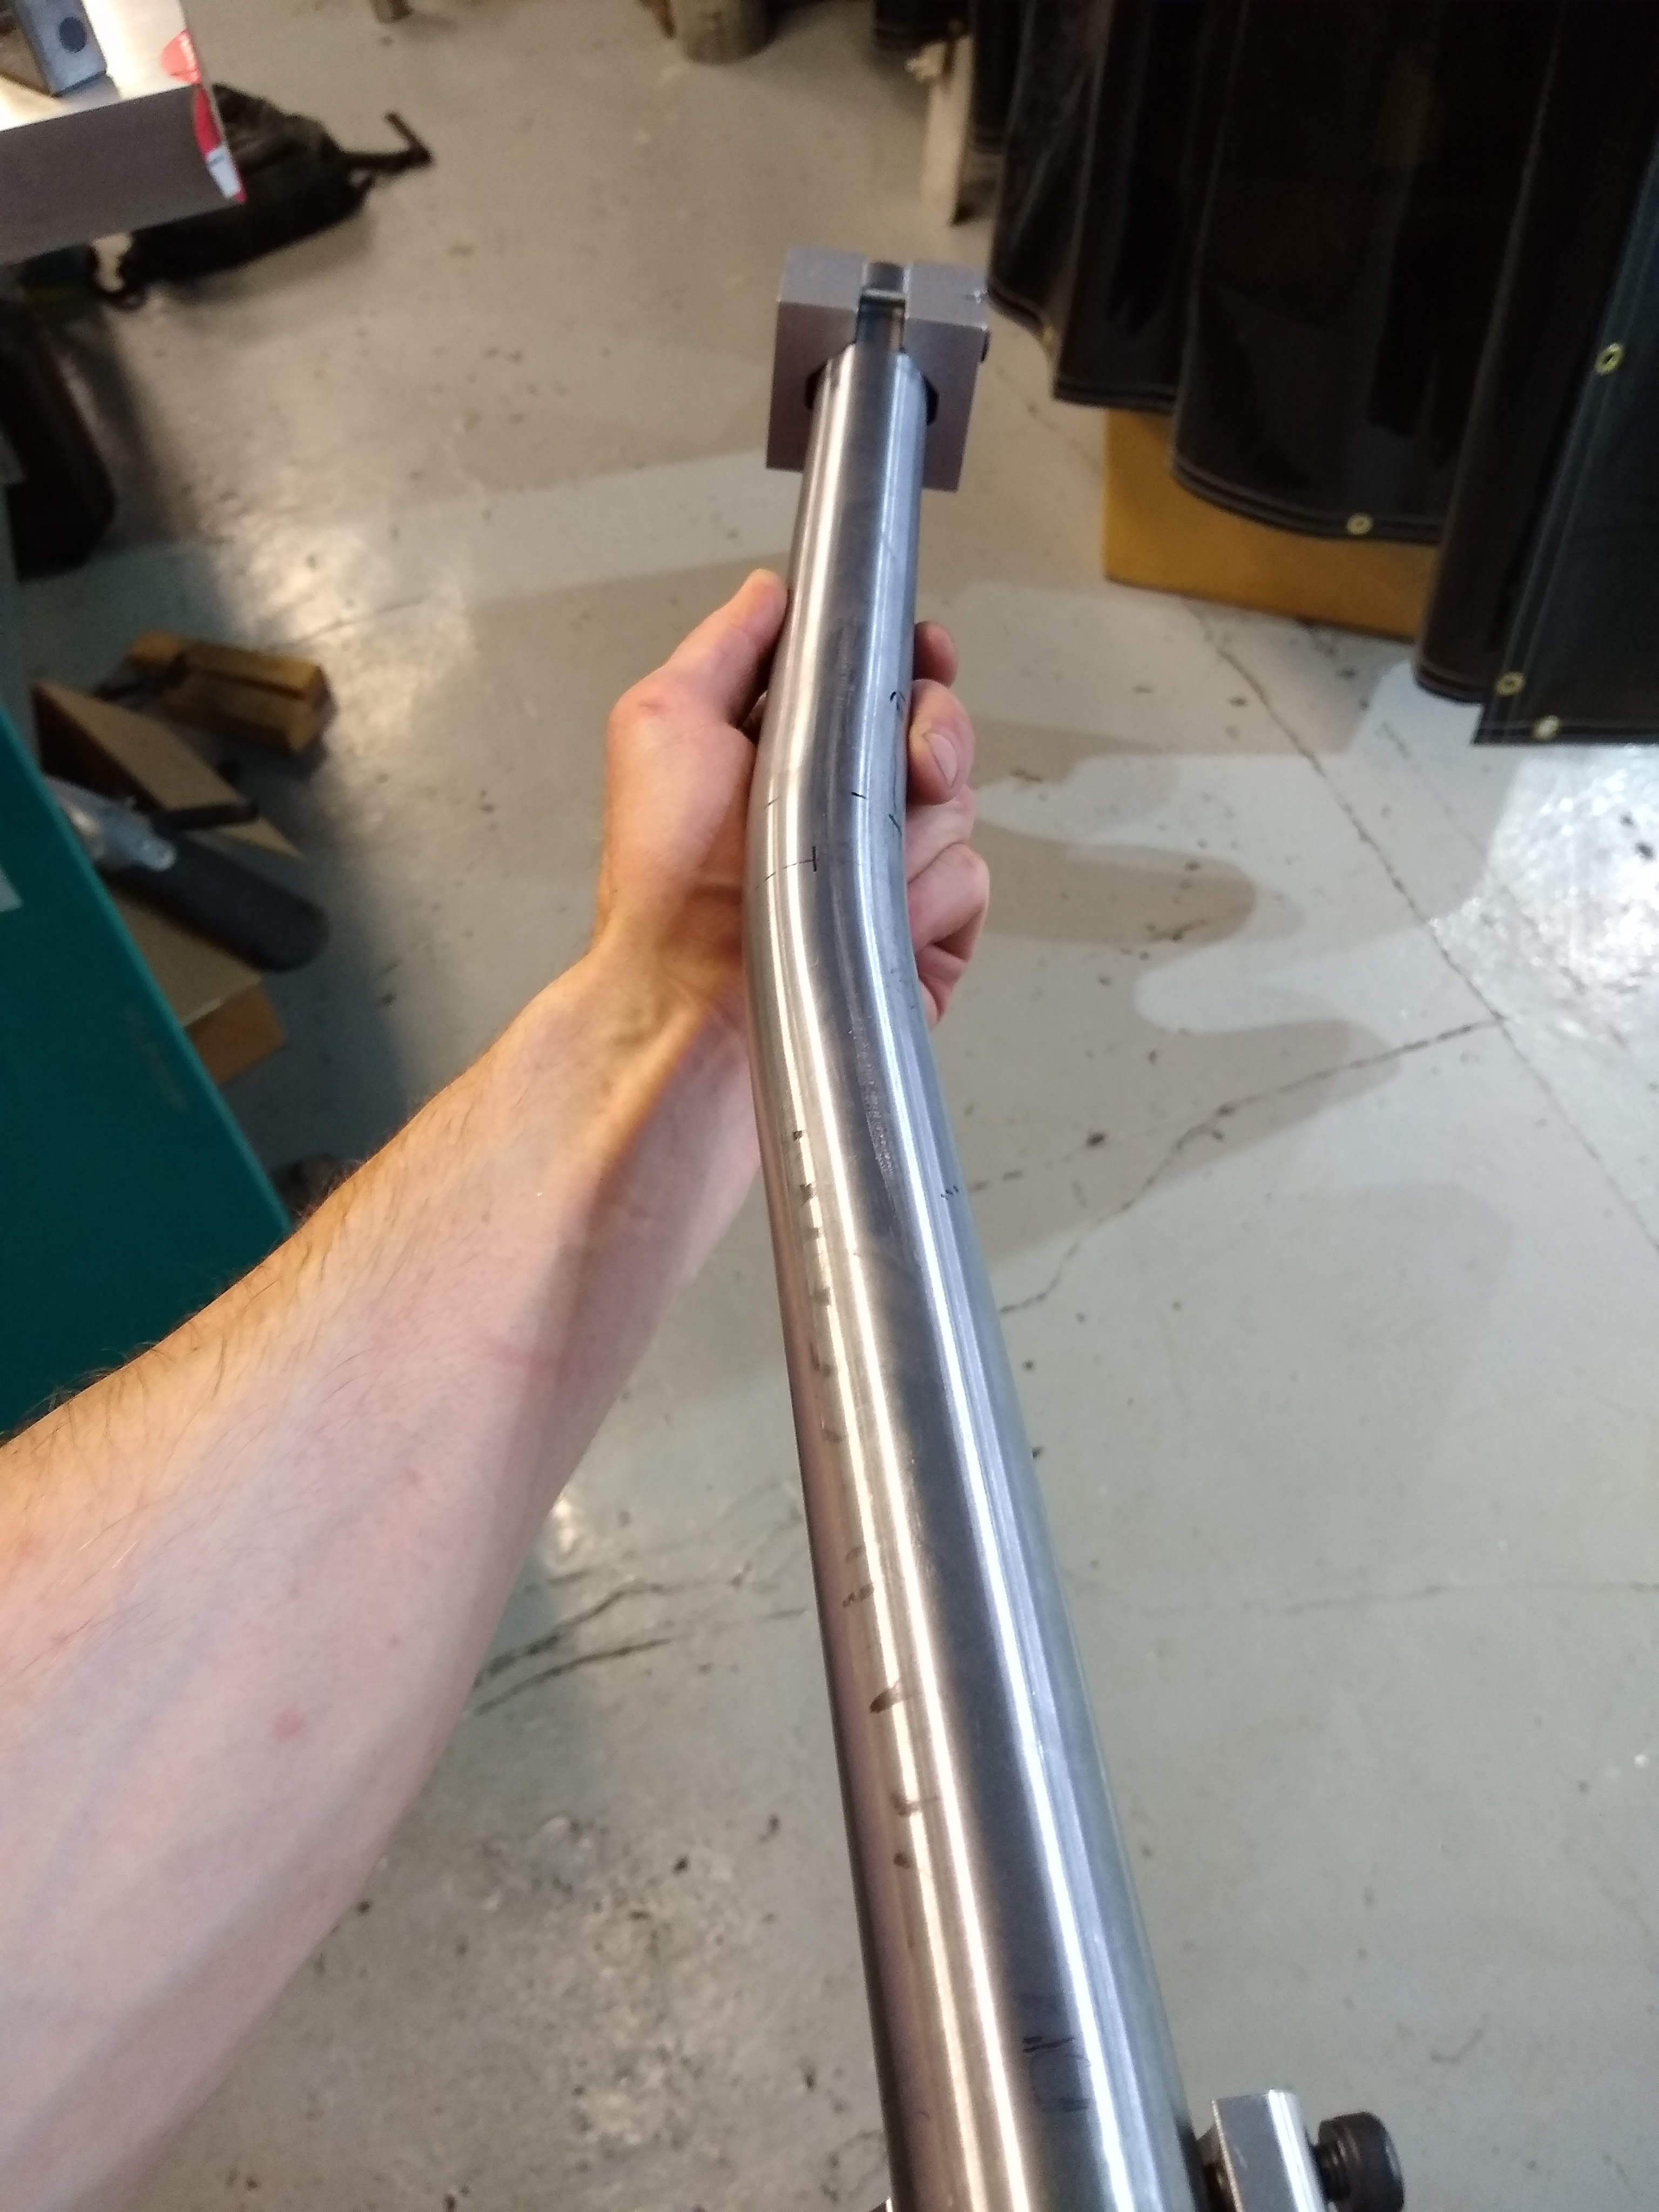
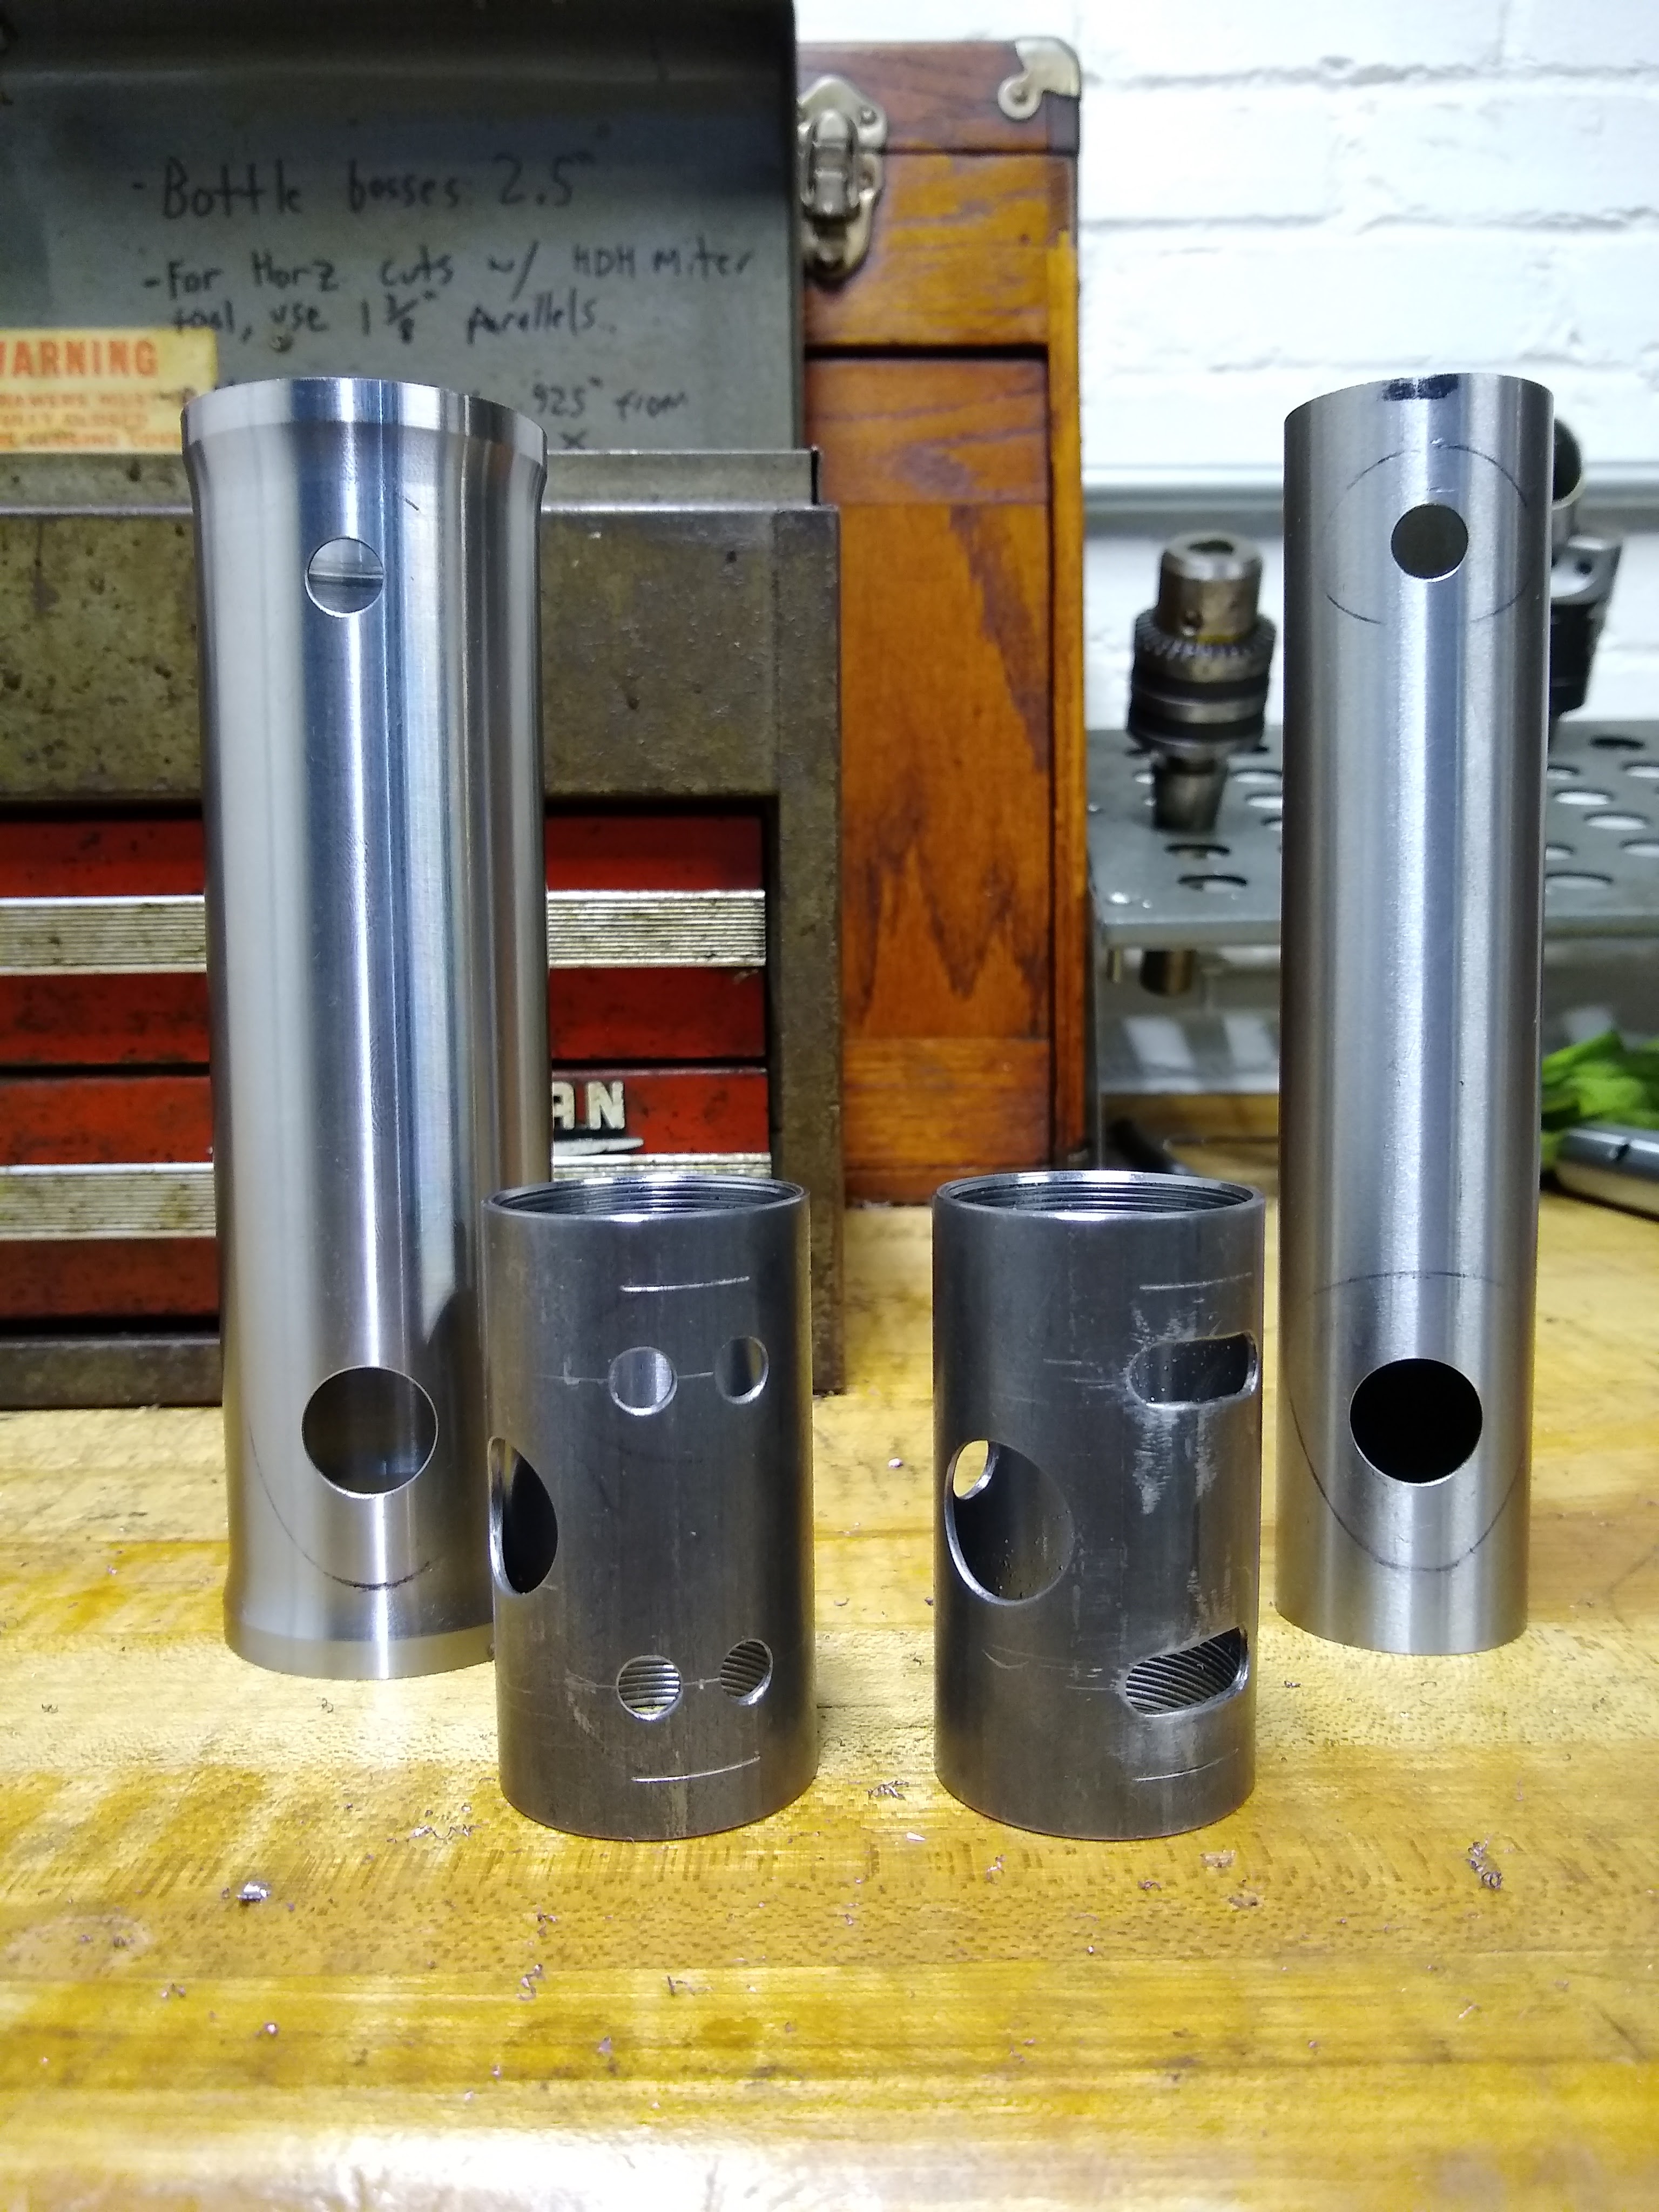
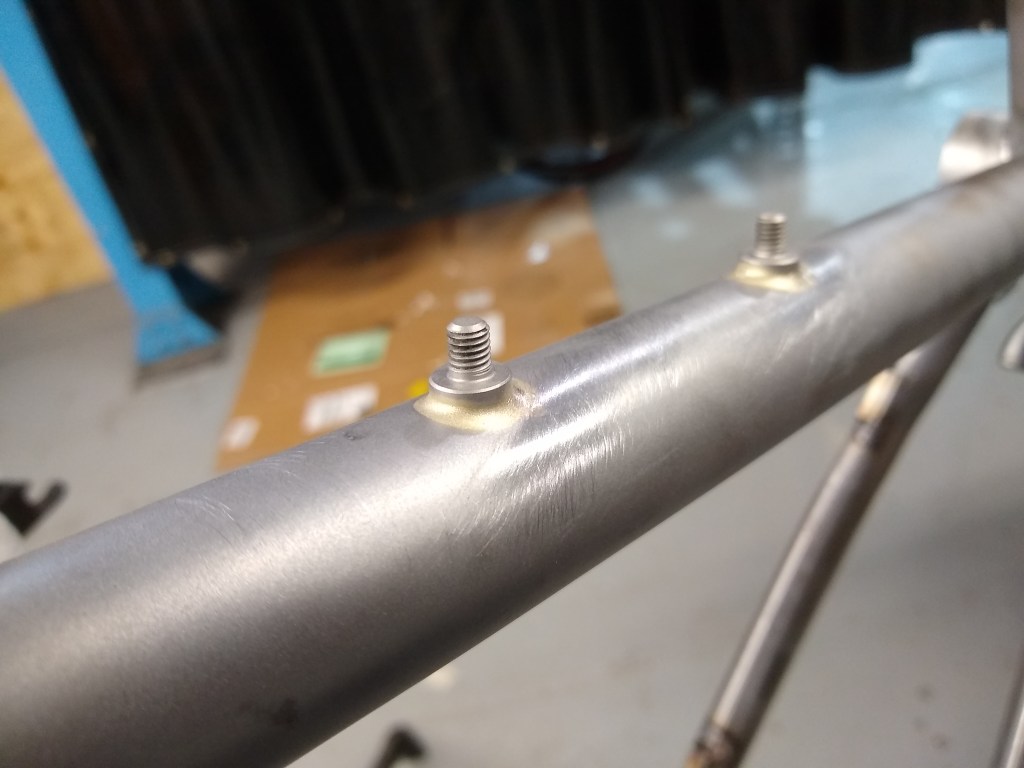
Miter seat tube, top tube, and down tube and drill water bottle boss holes

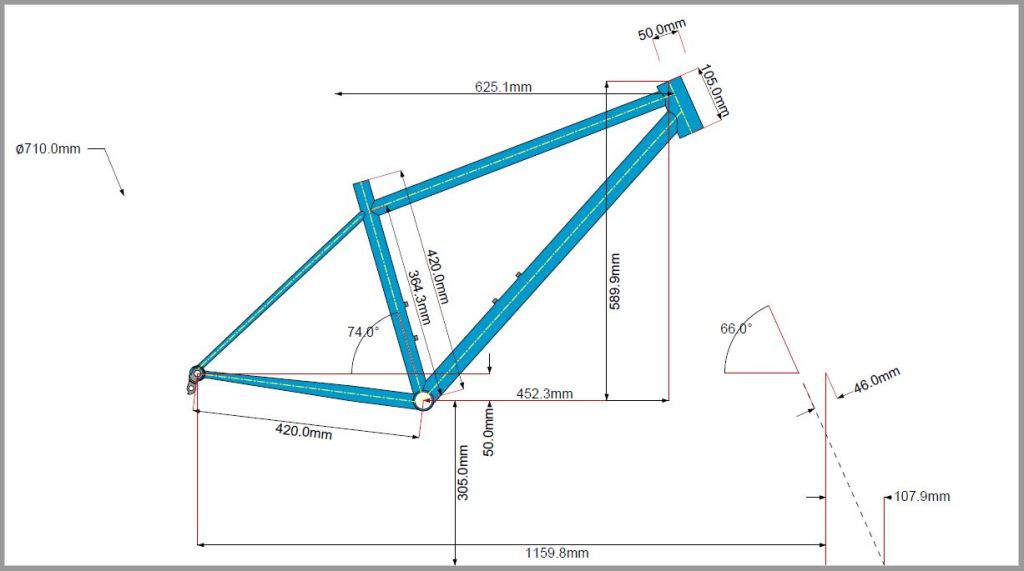
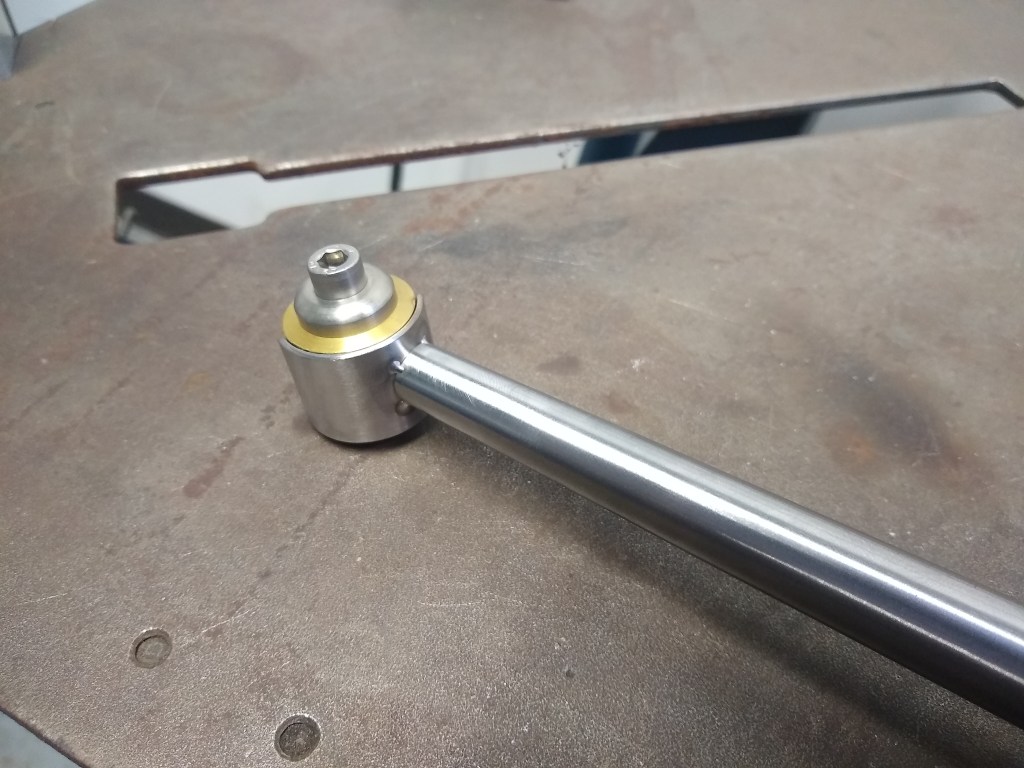
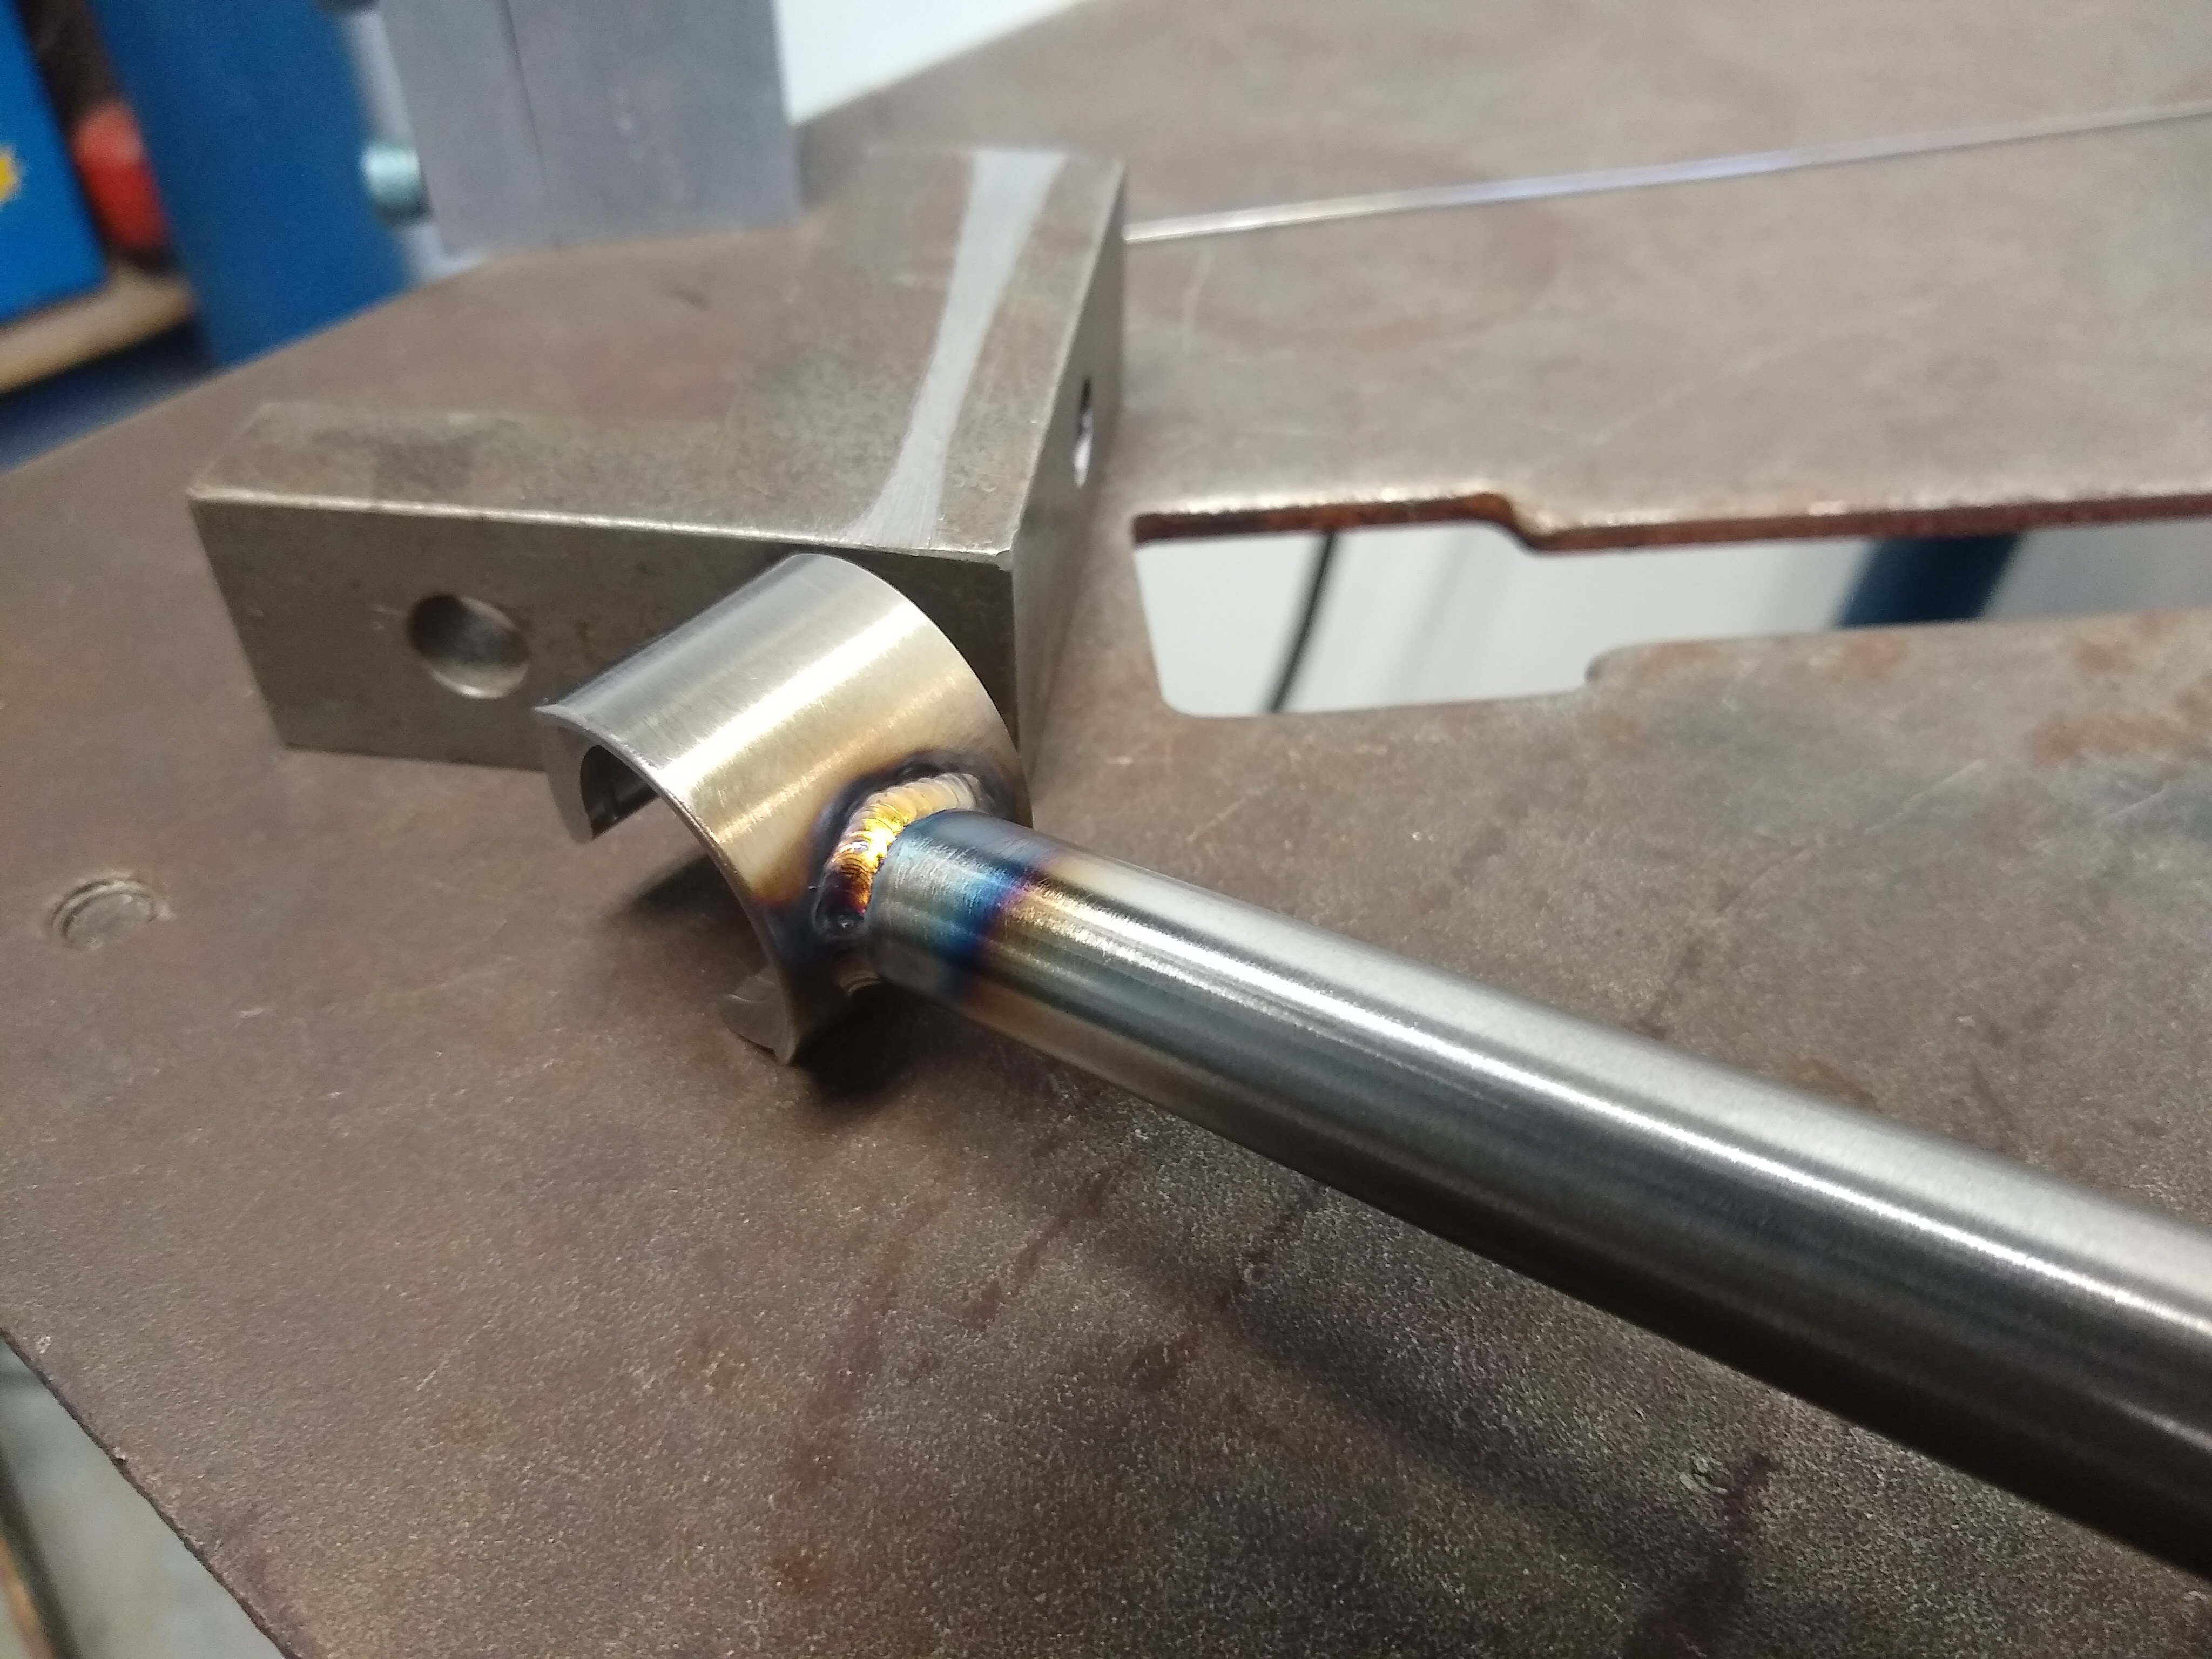
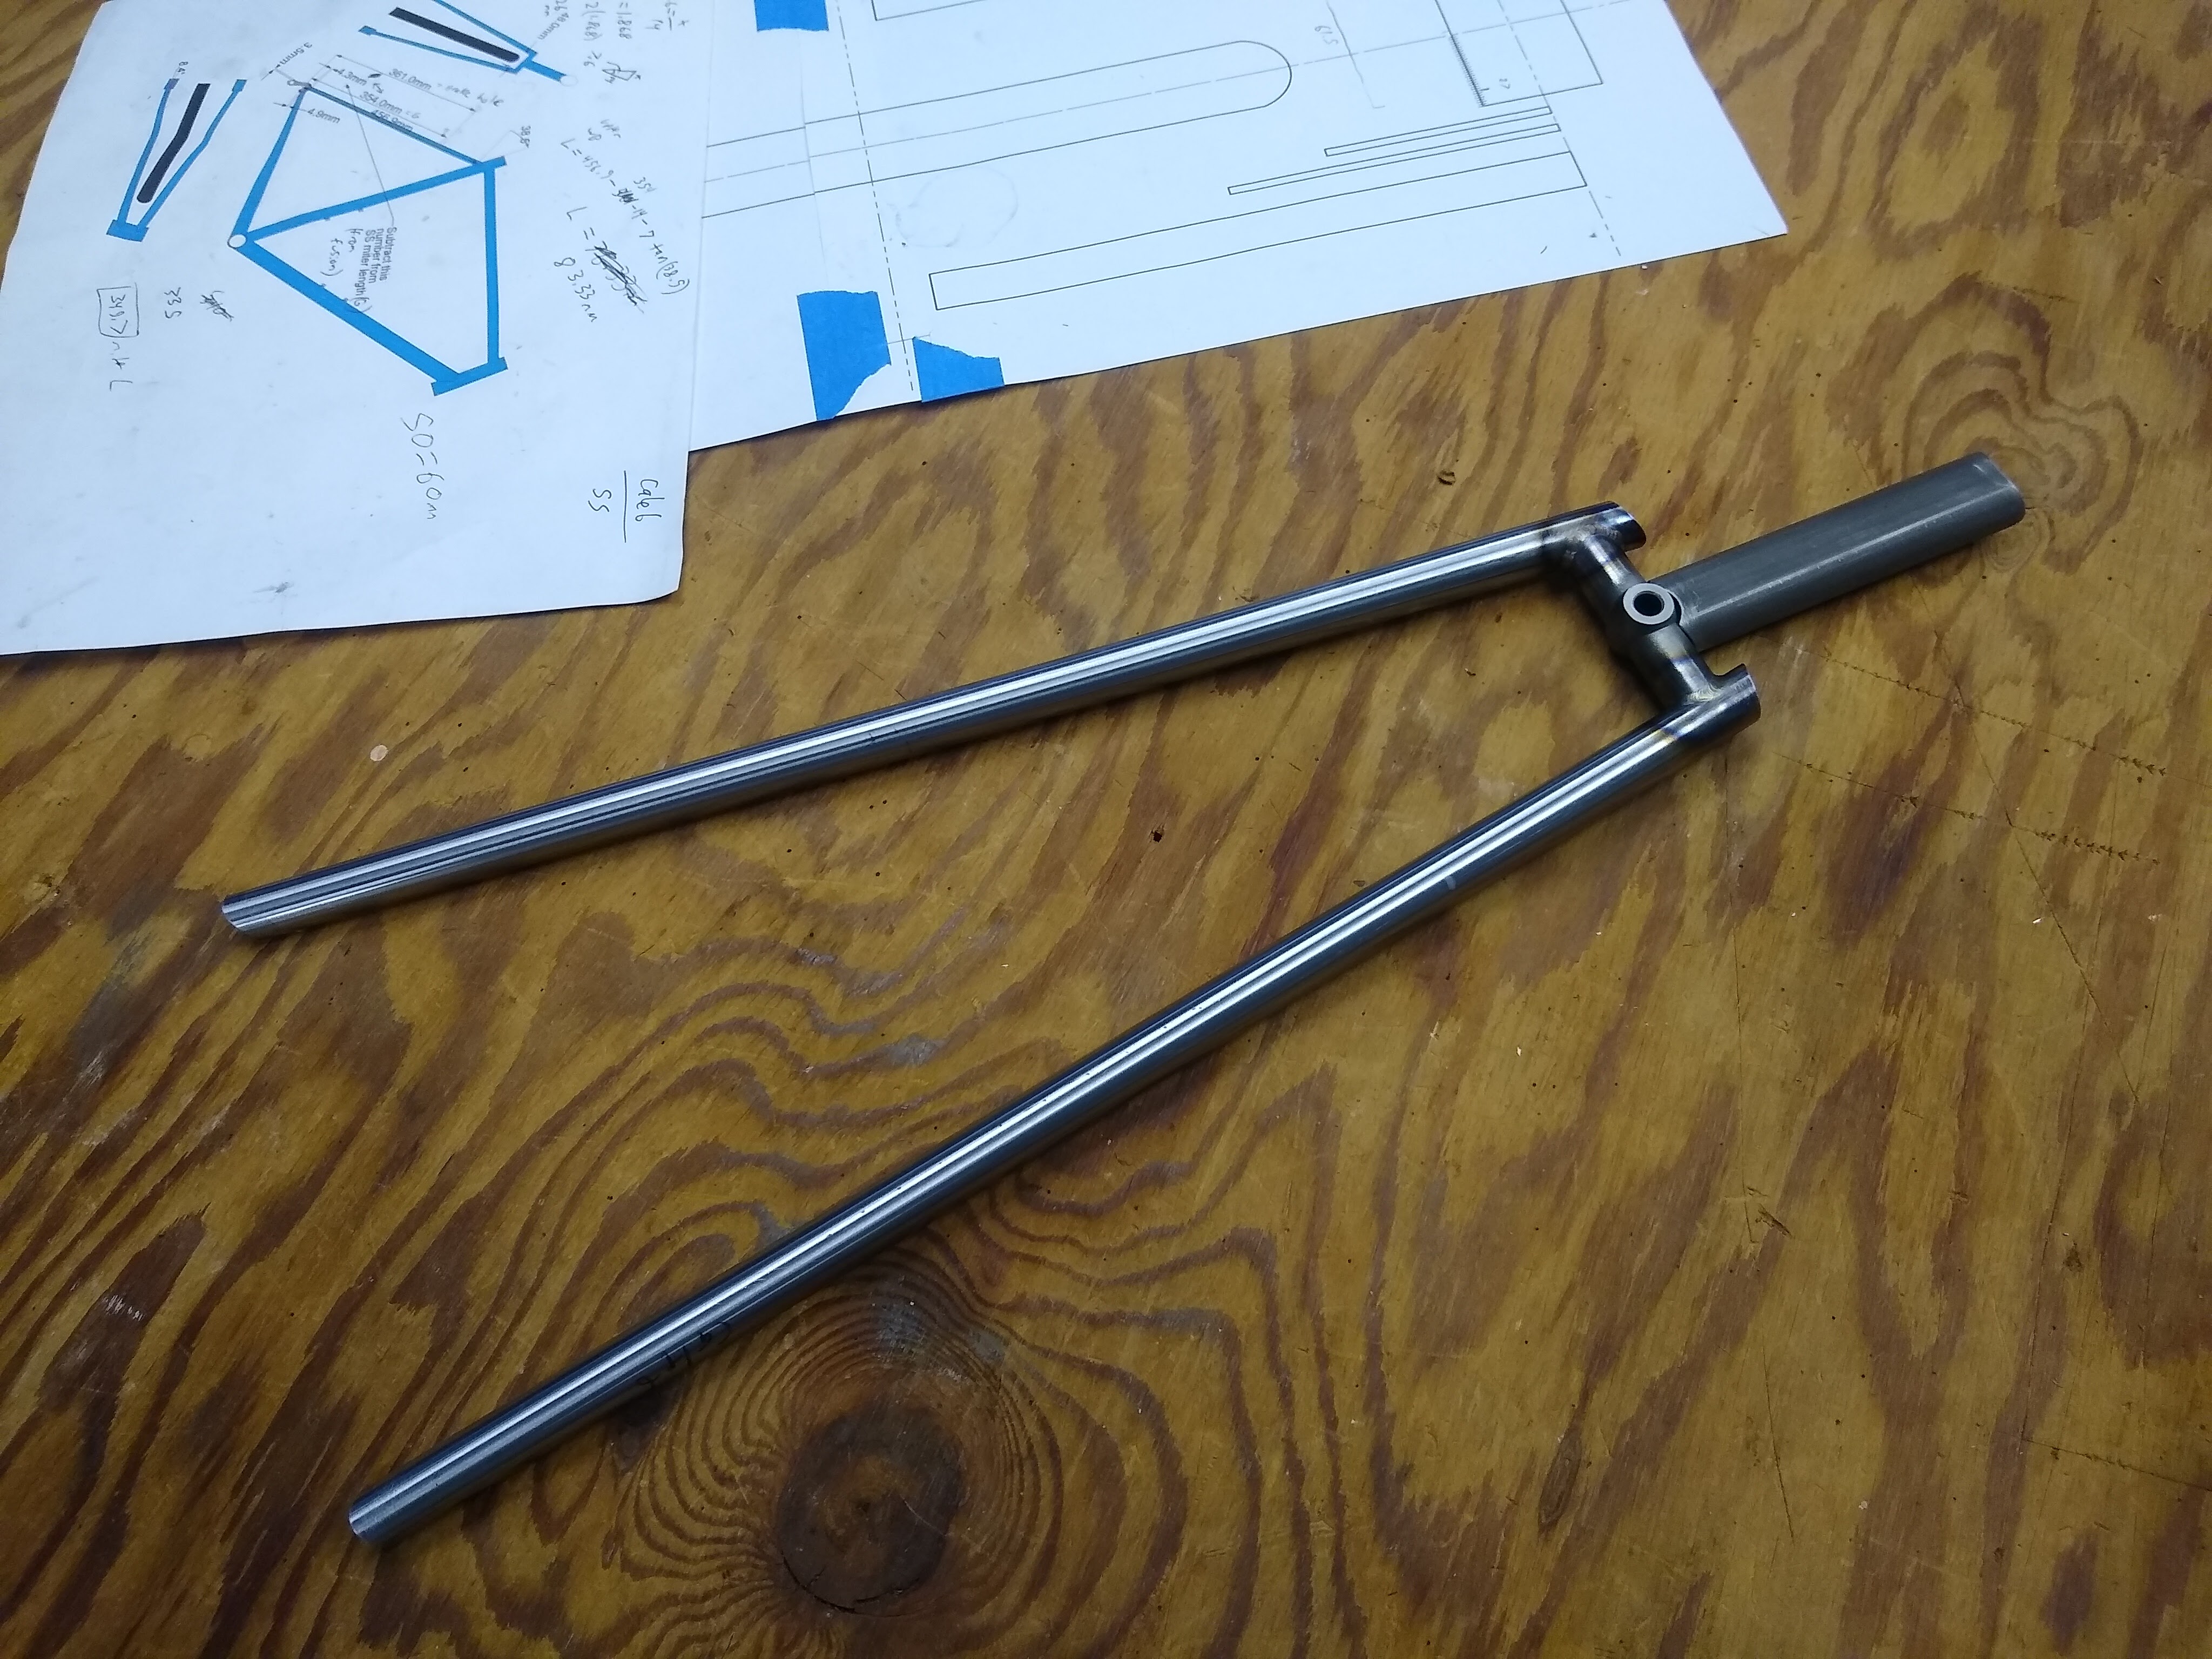
Tools and drawings needed for main tube mitering
Cutting the head tube / down tube joint miter

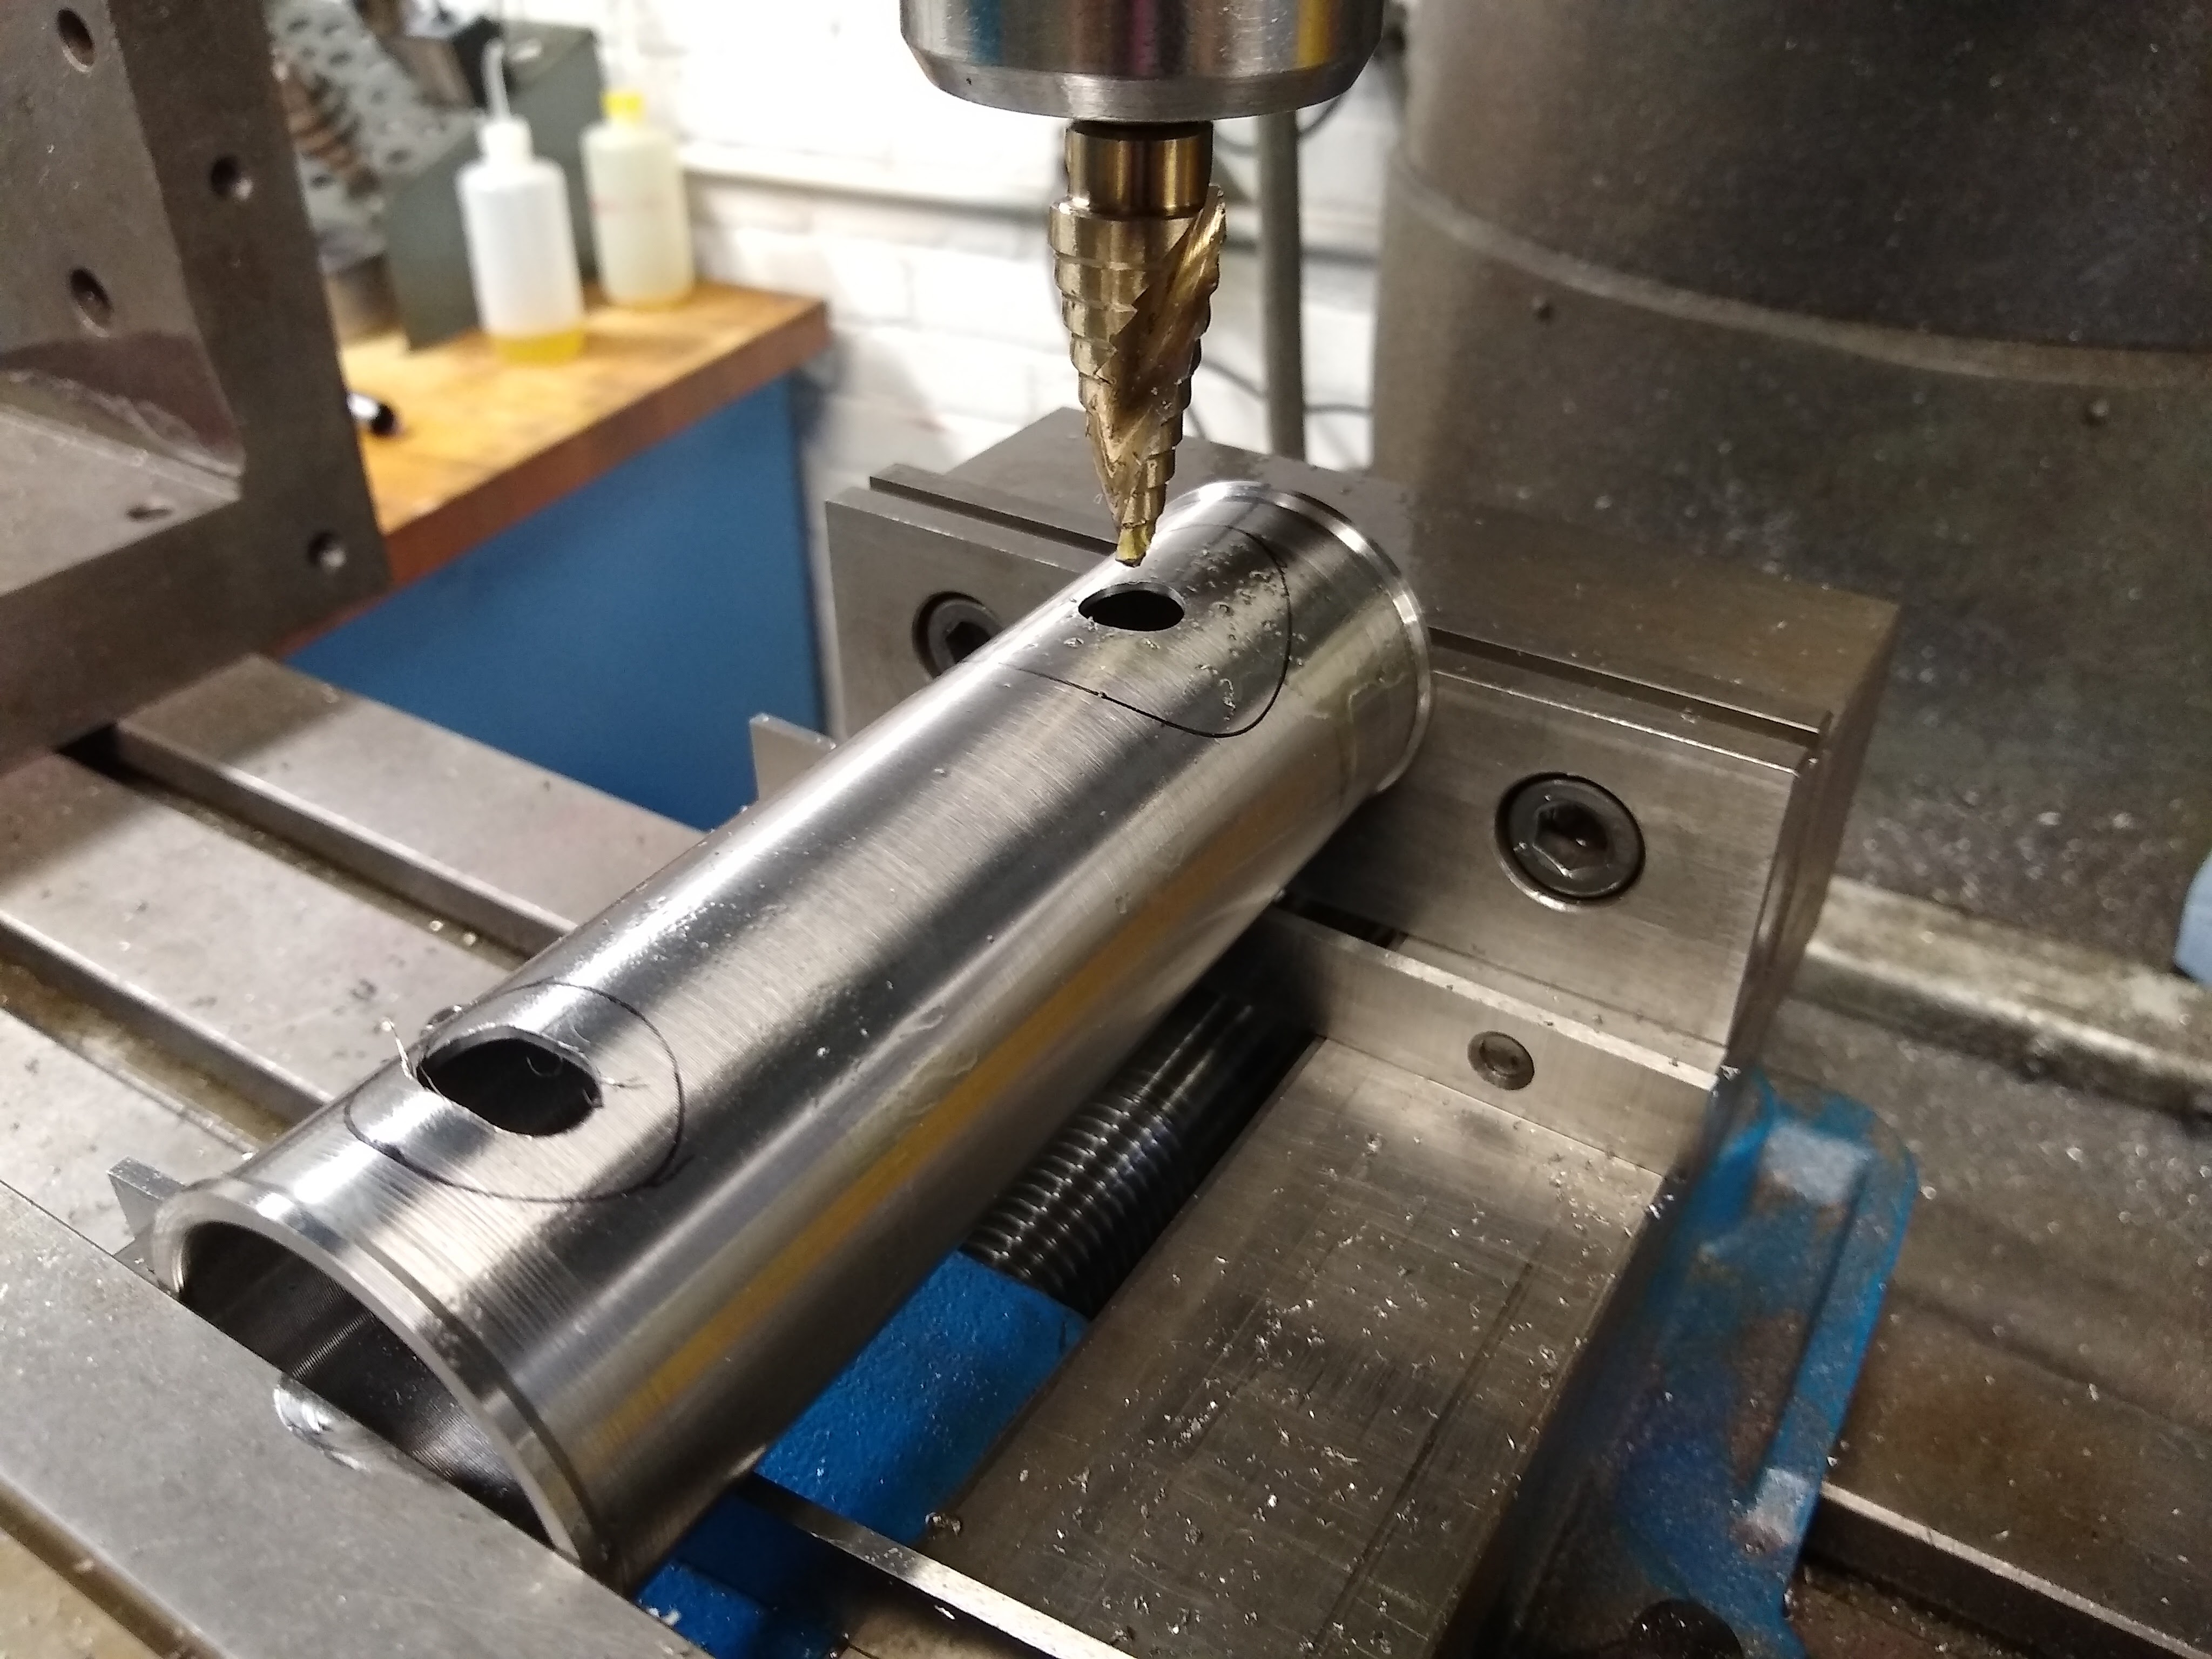
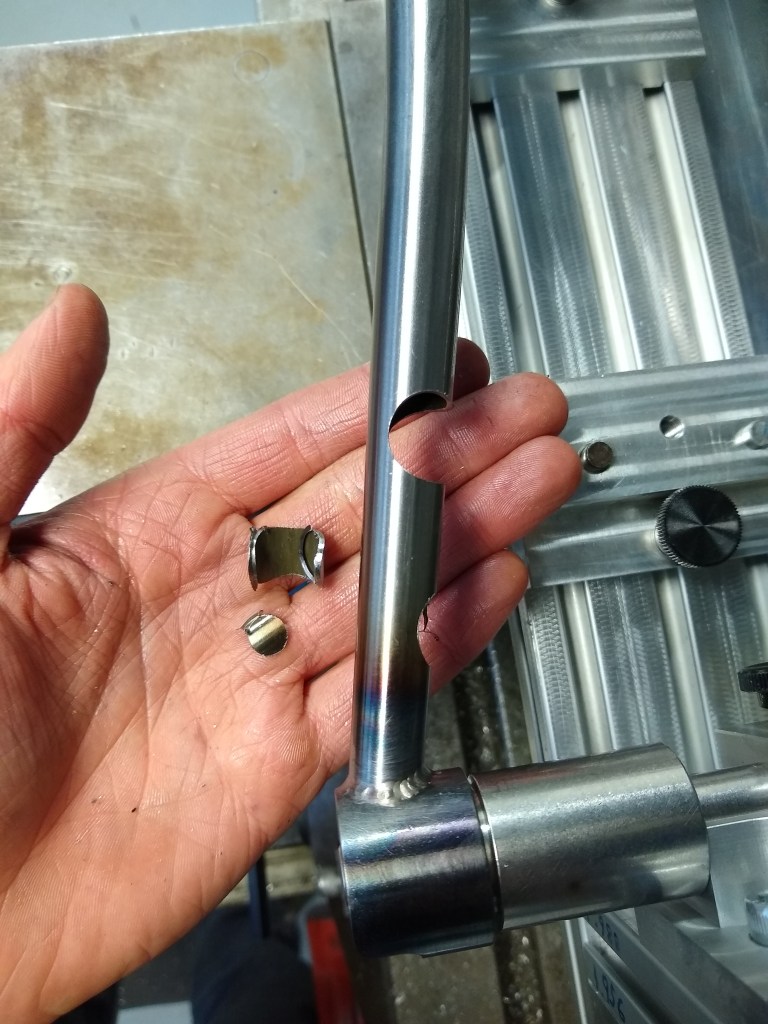
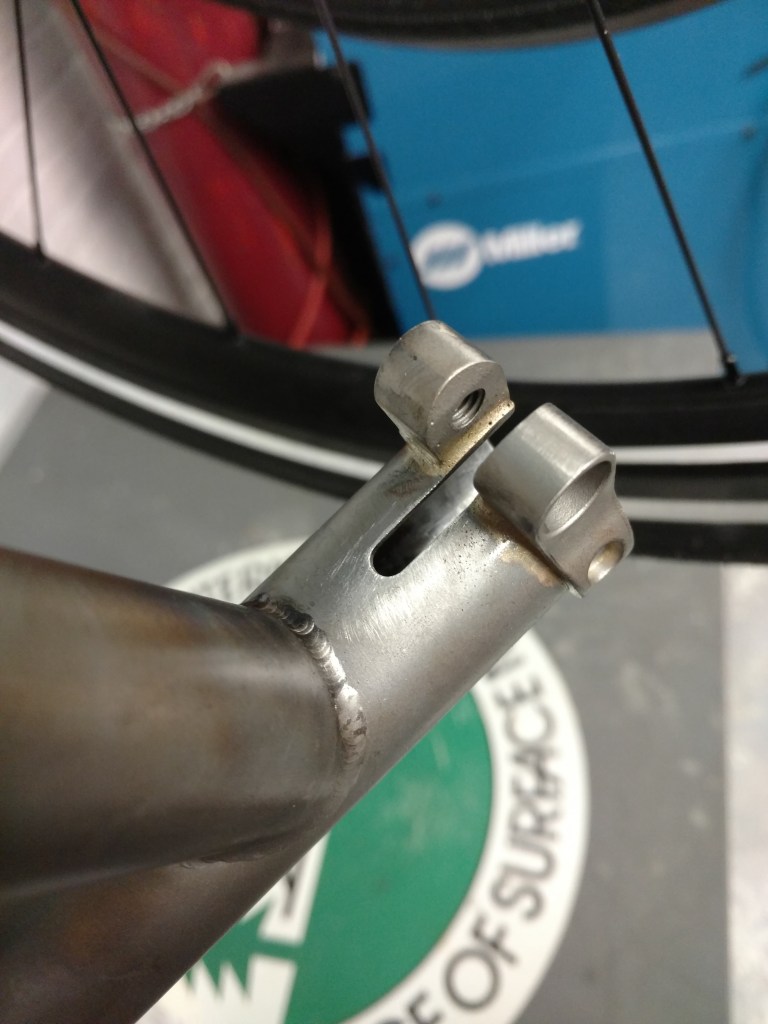
Drill vent holes for welding

Head tube vent hole drilling
Some vented head tubes and bottom brackets

Fabricate chainstay sub-assemblies

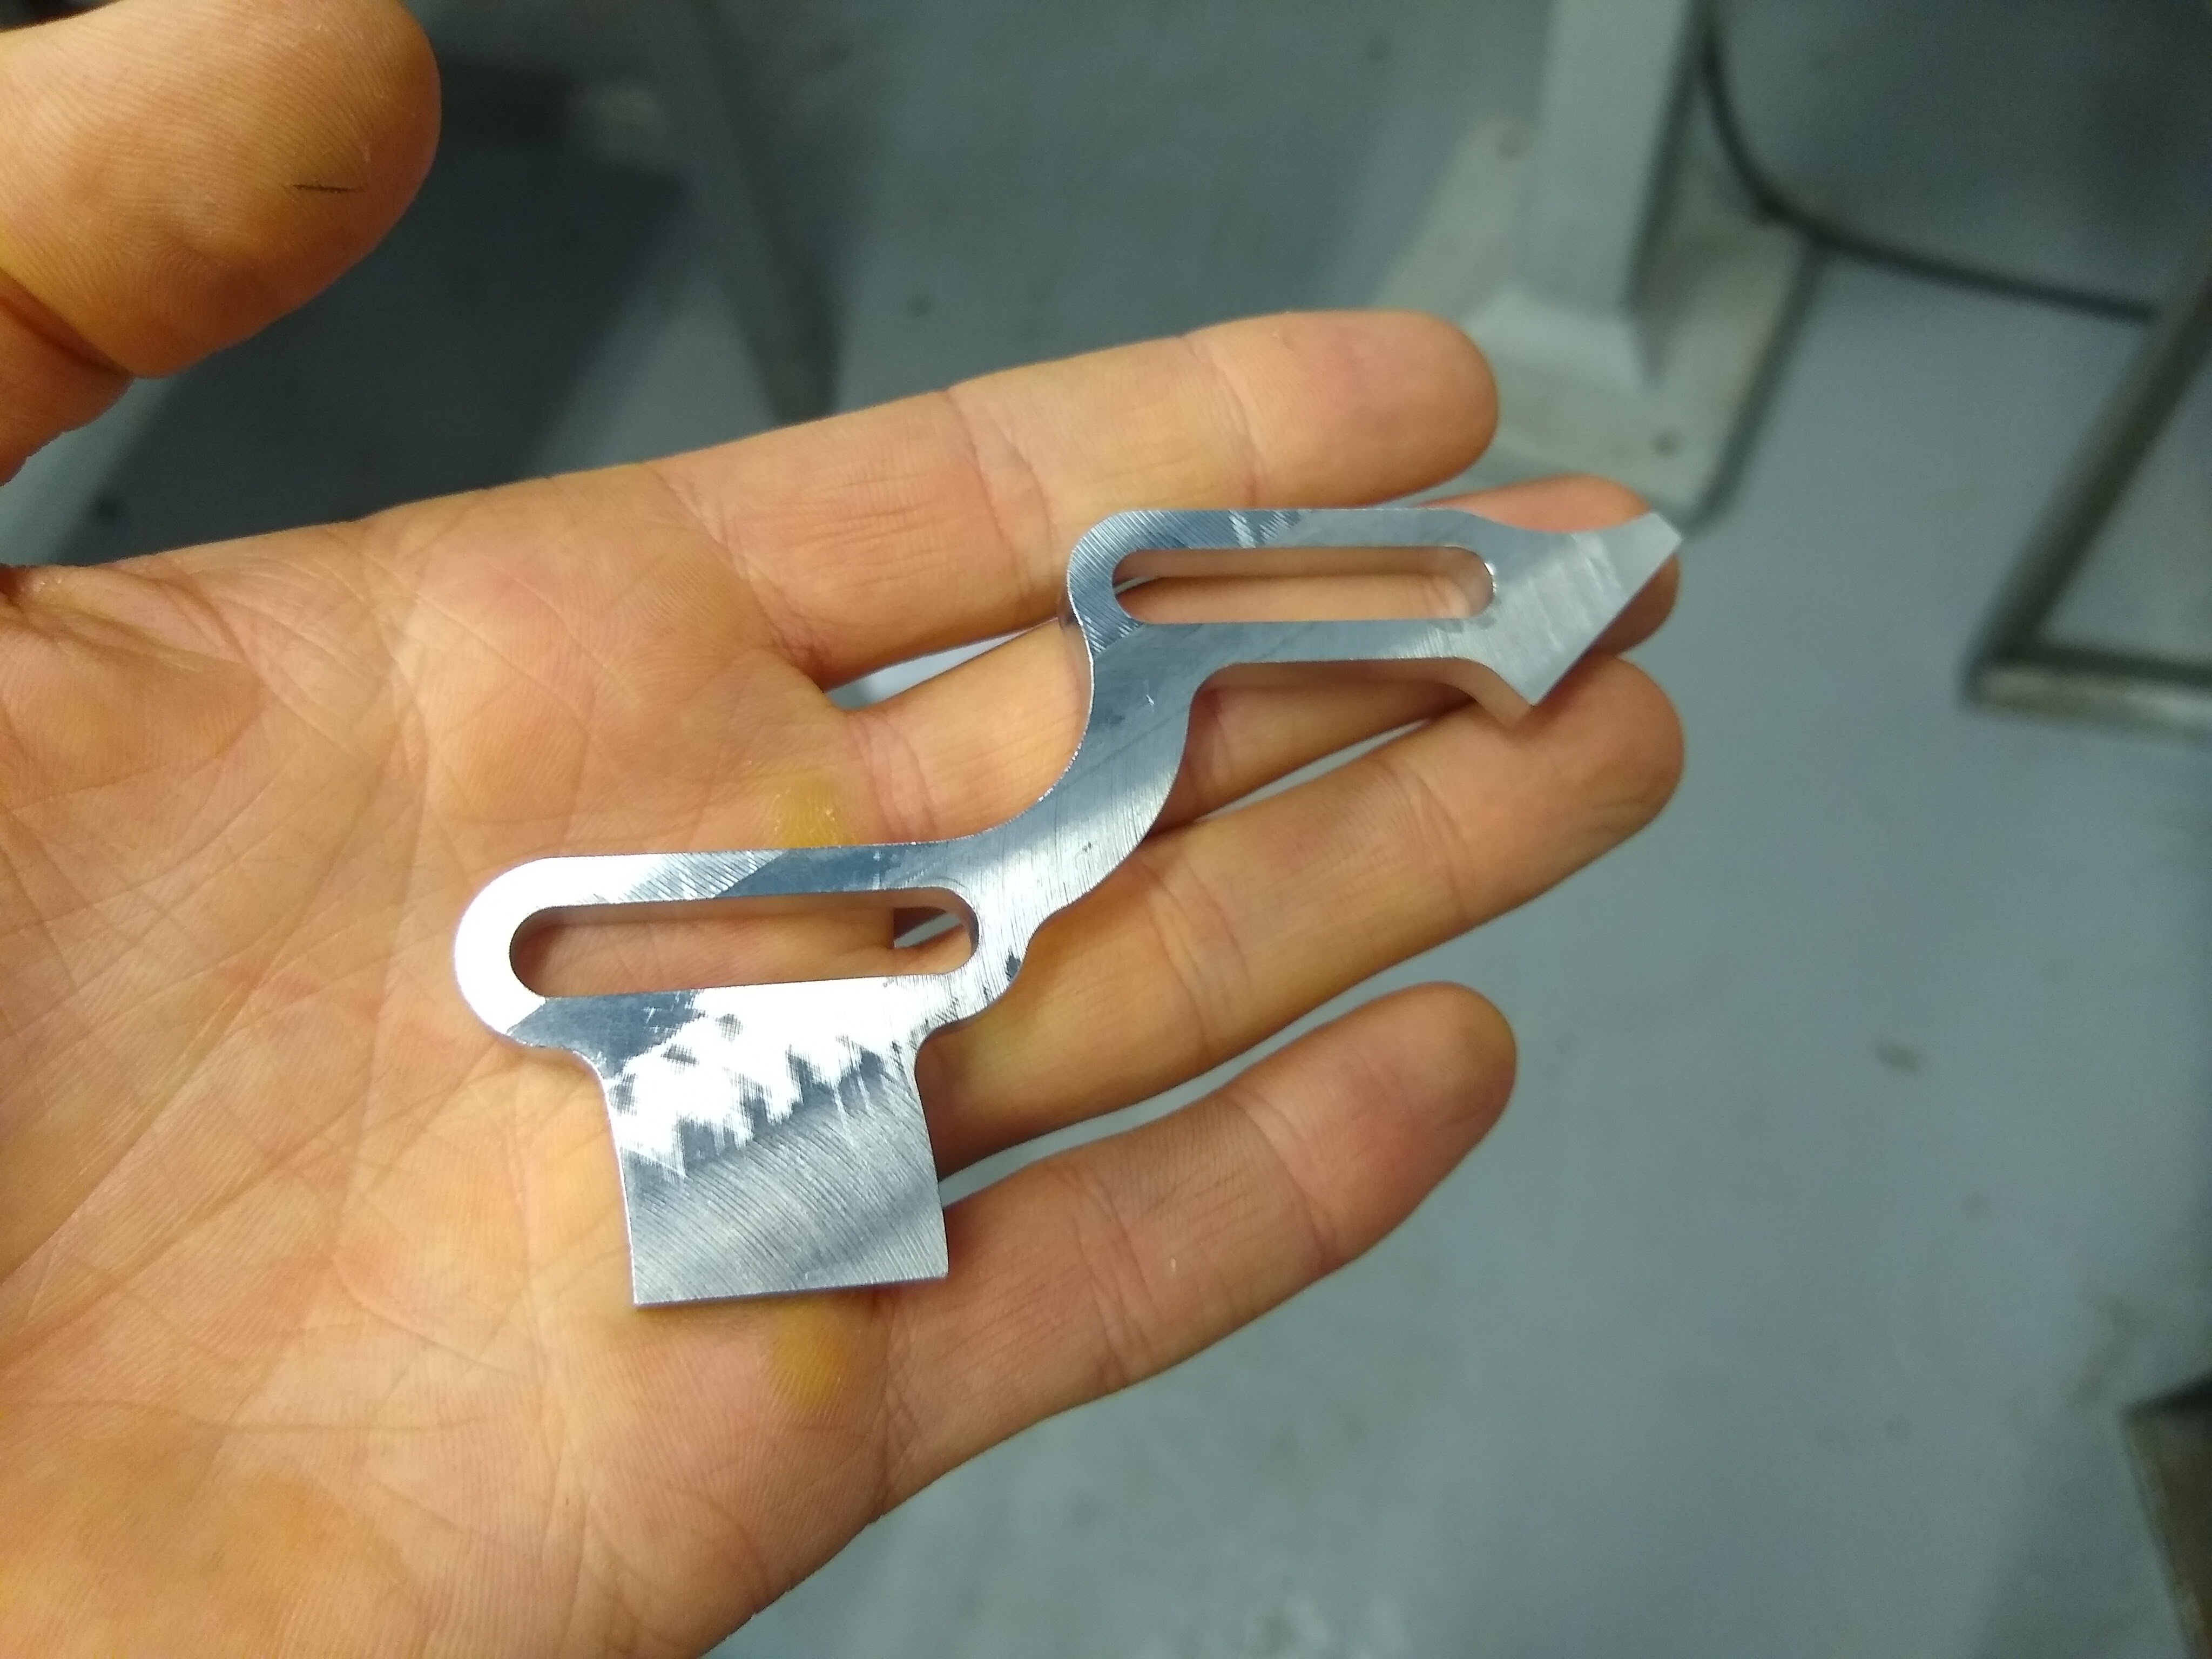
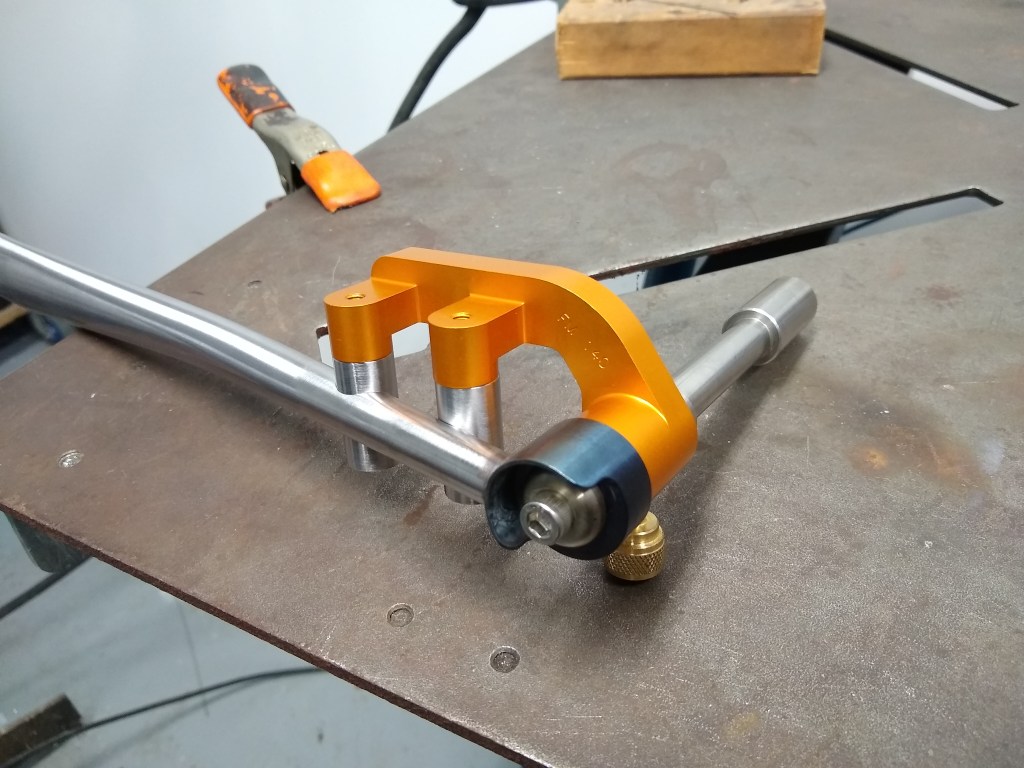
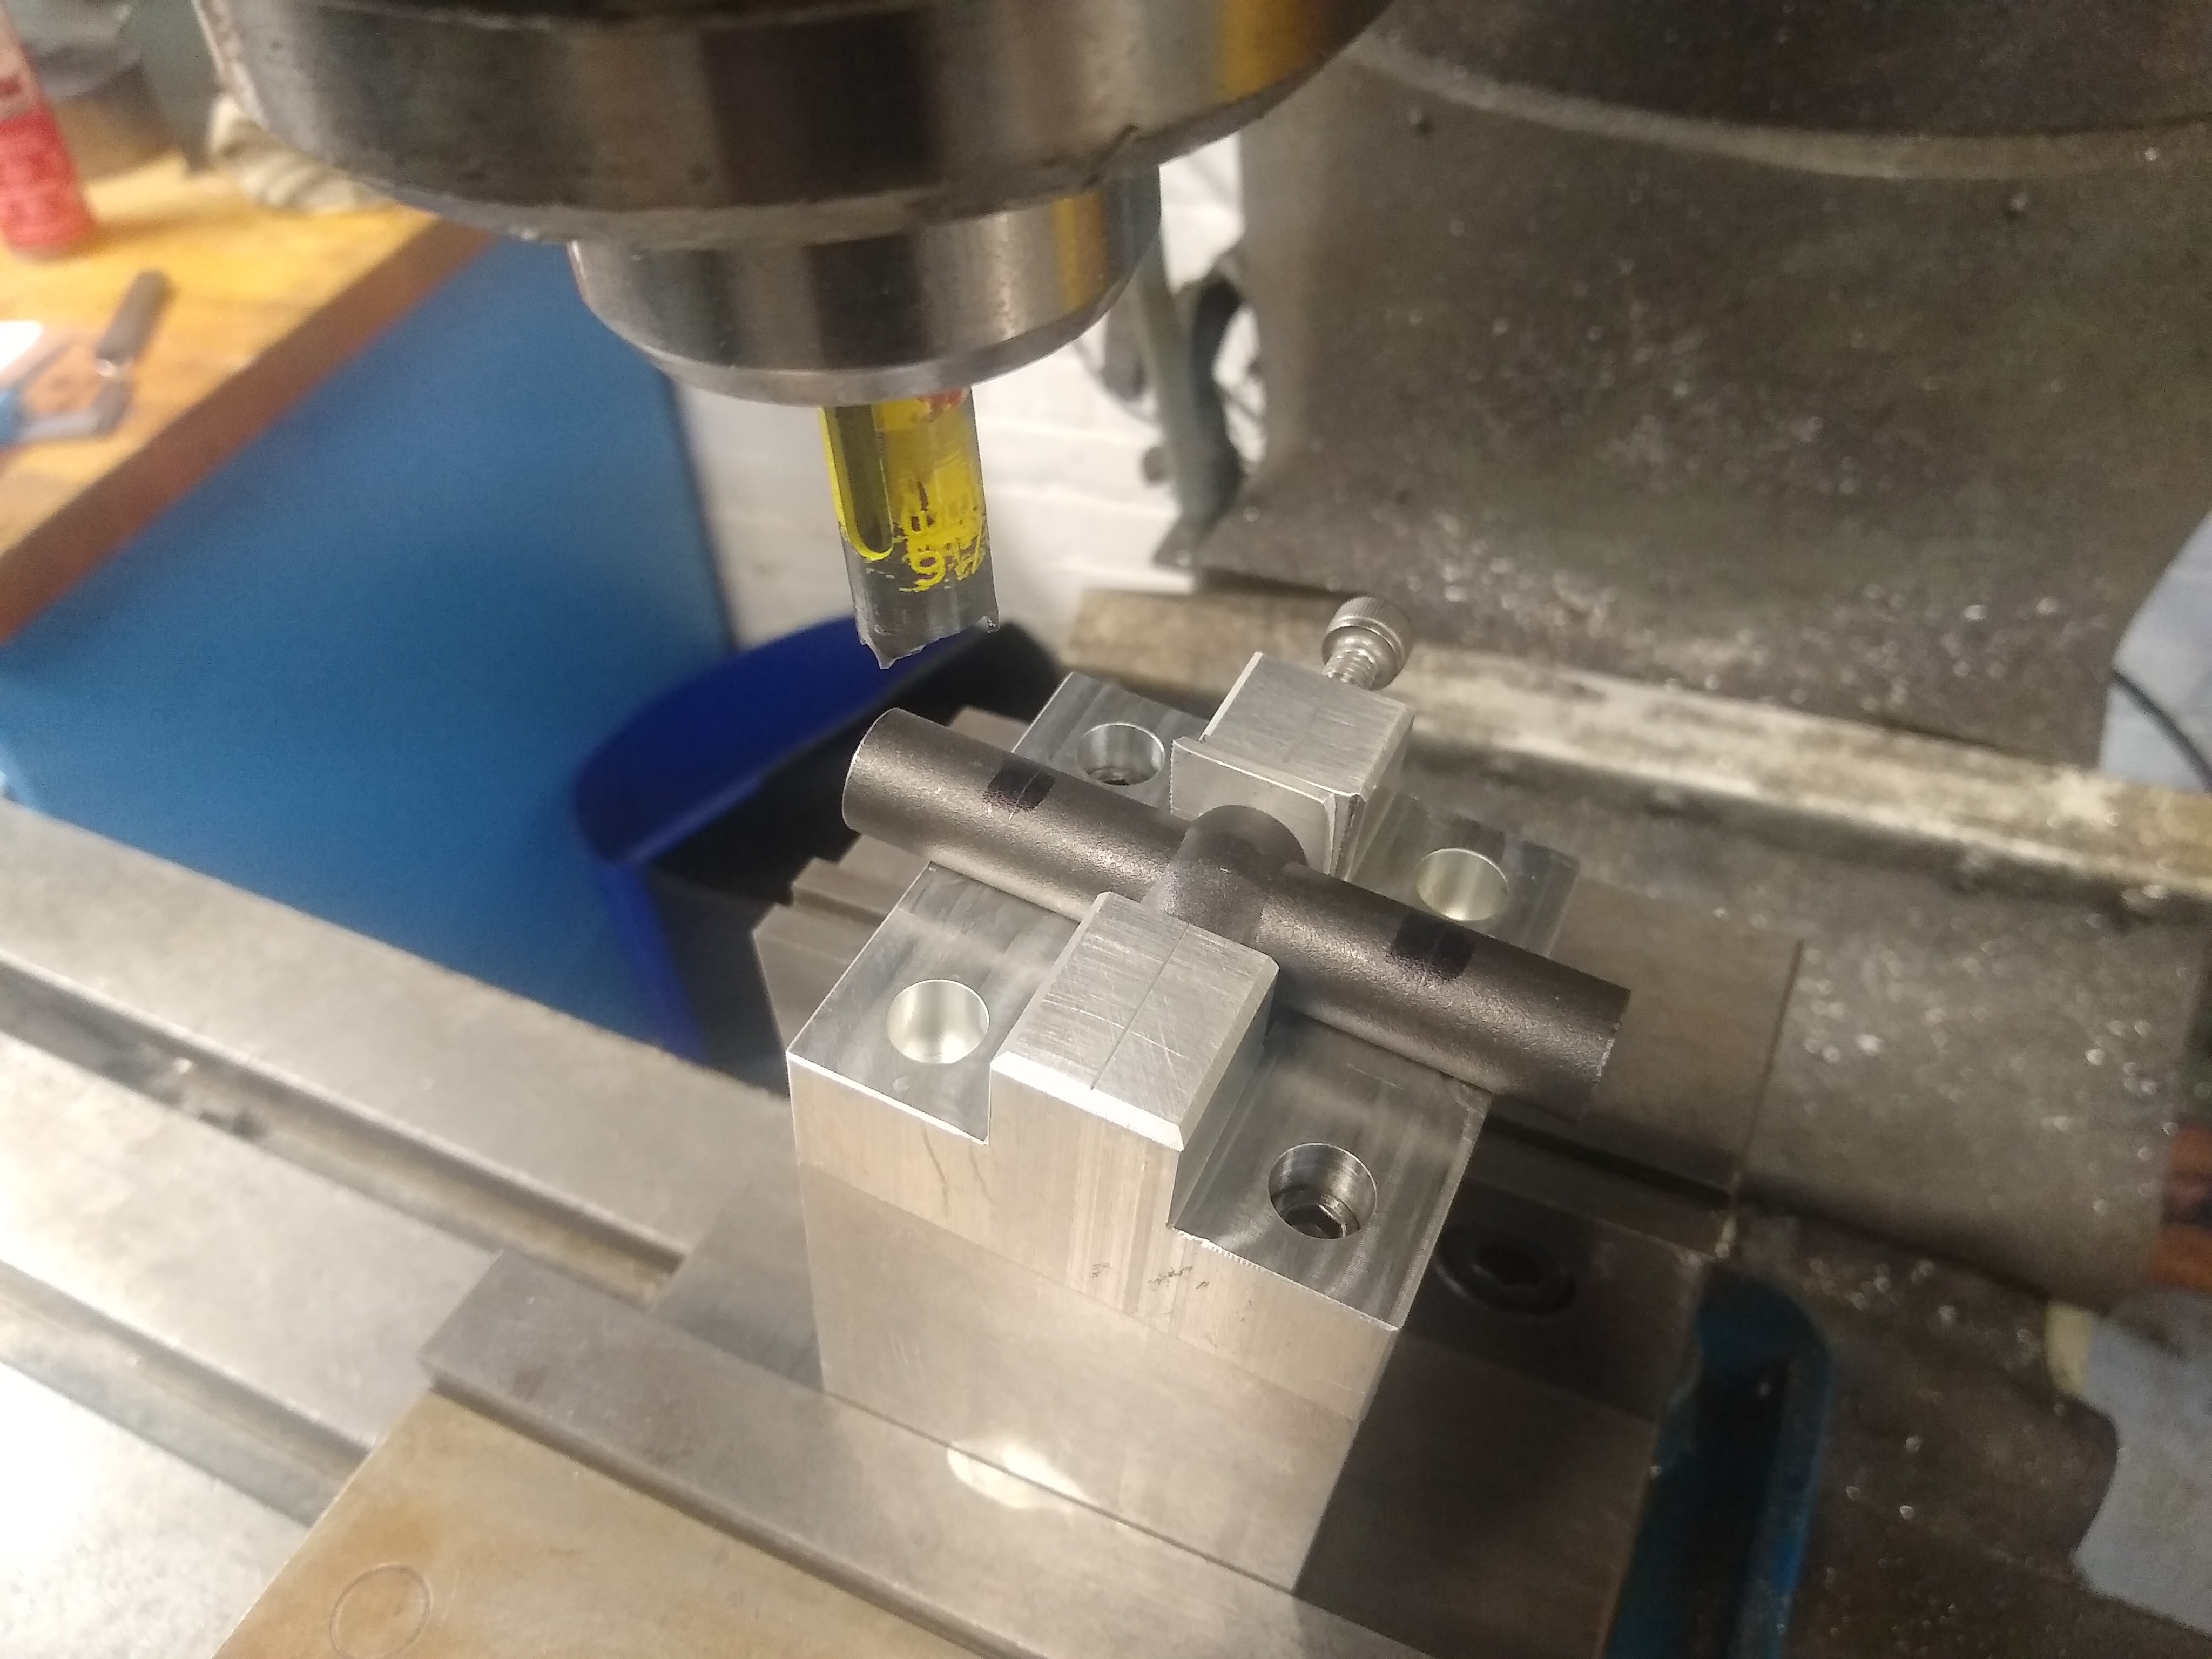
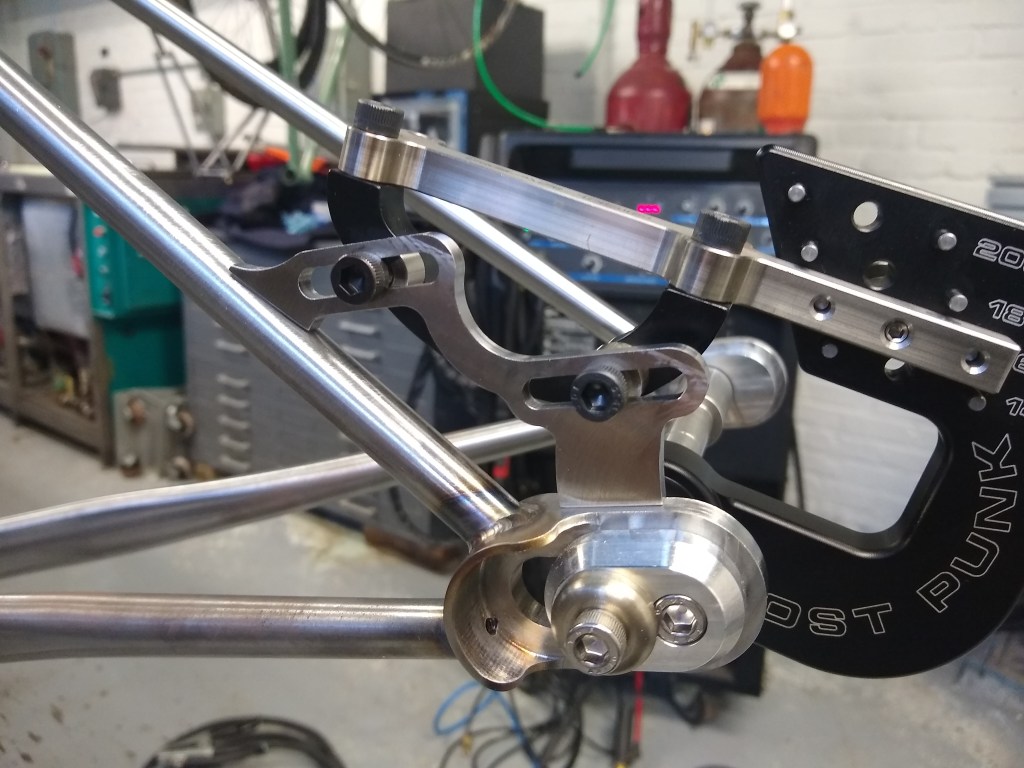
Cutting the chainstay/dropout miter with the Cobra Miter Buddy
Chainstay tacked to dropout
Finish weld
Chainstay mitering setup in the vertical mill
Two nice chainstay/BB miters
Cutting holes for flat mount brake bosses
Flat mount brake boss fixture I machined
Flat mount brake bosses welded into chainstays

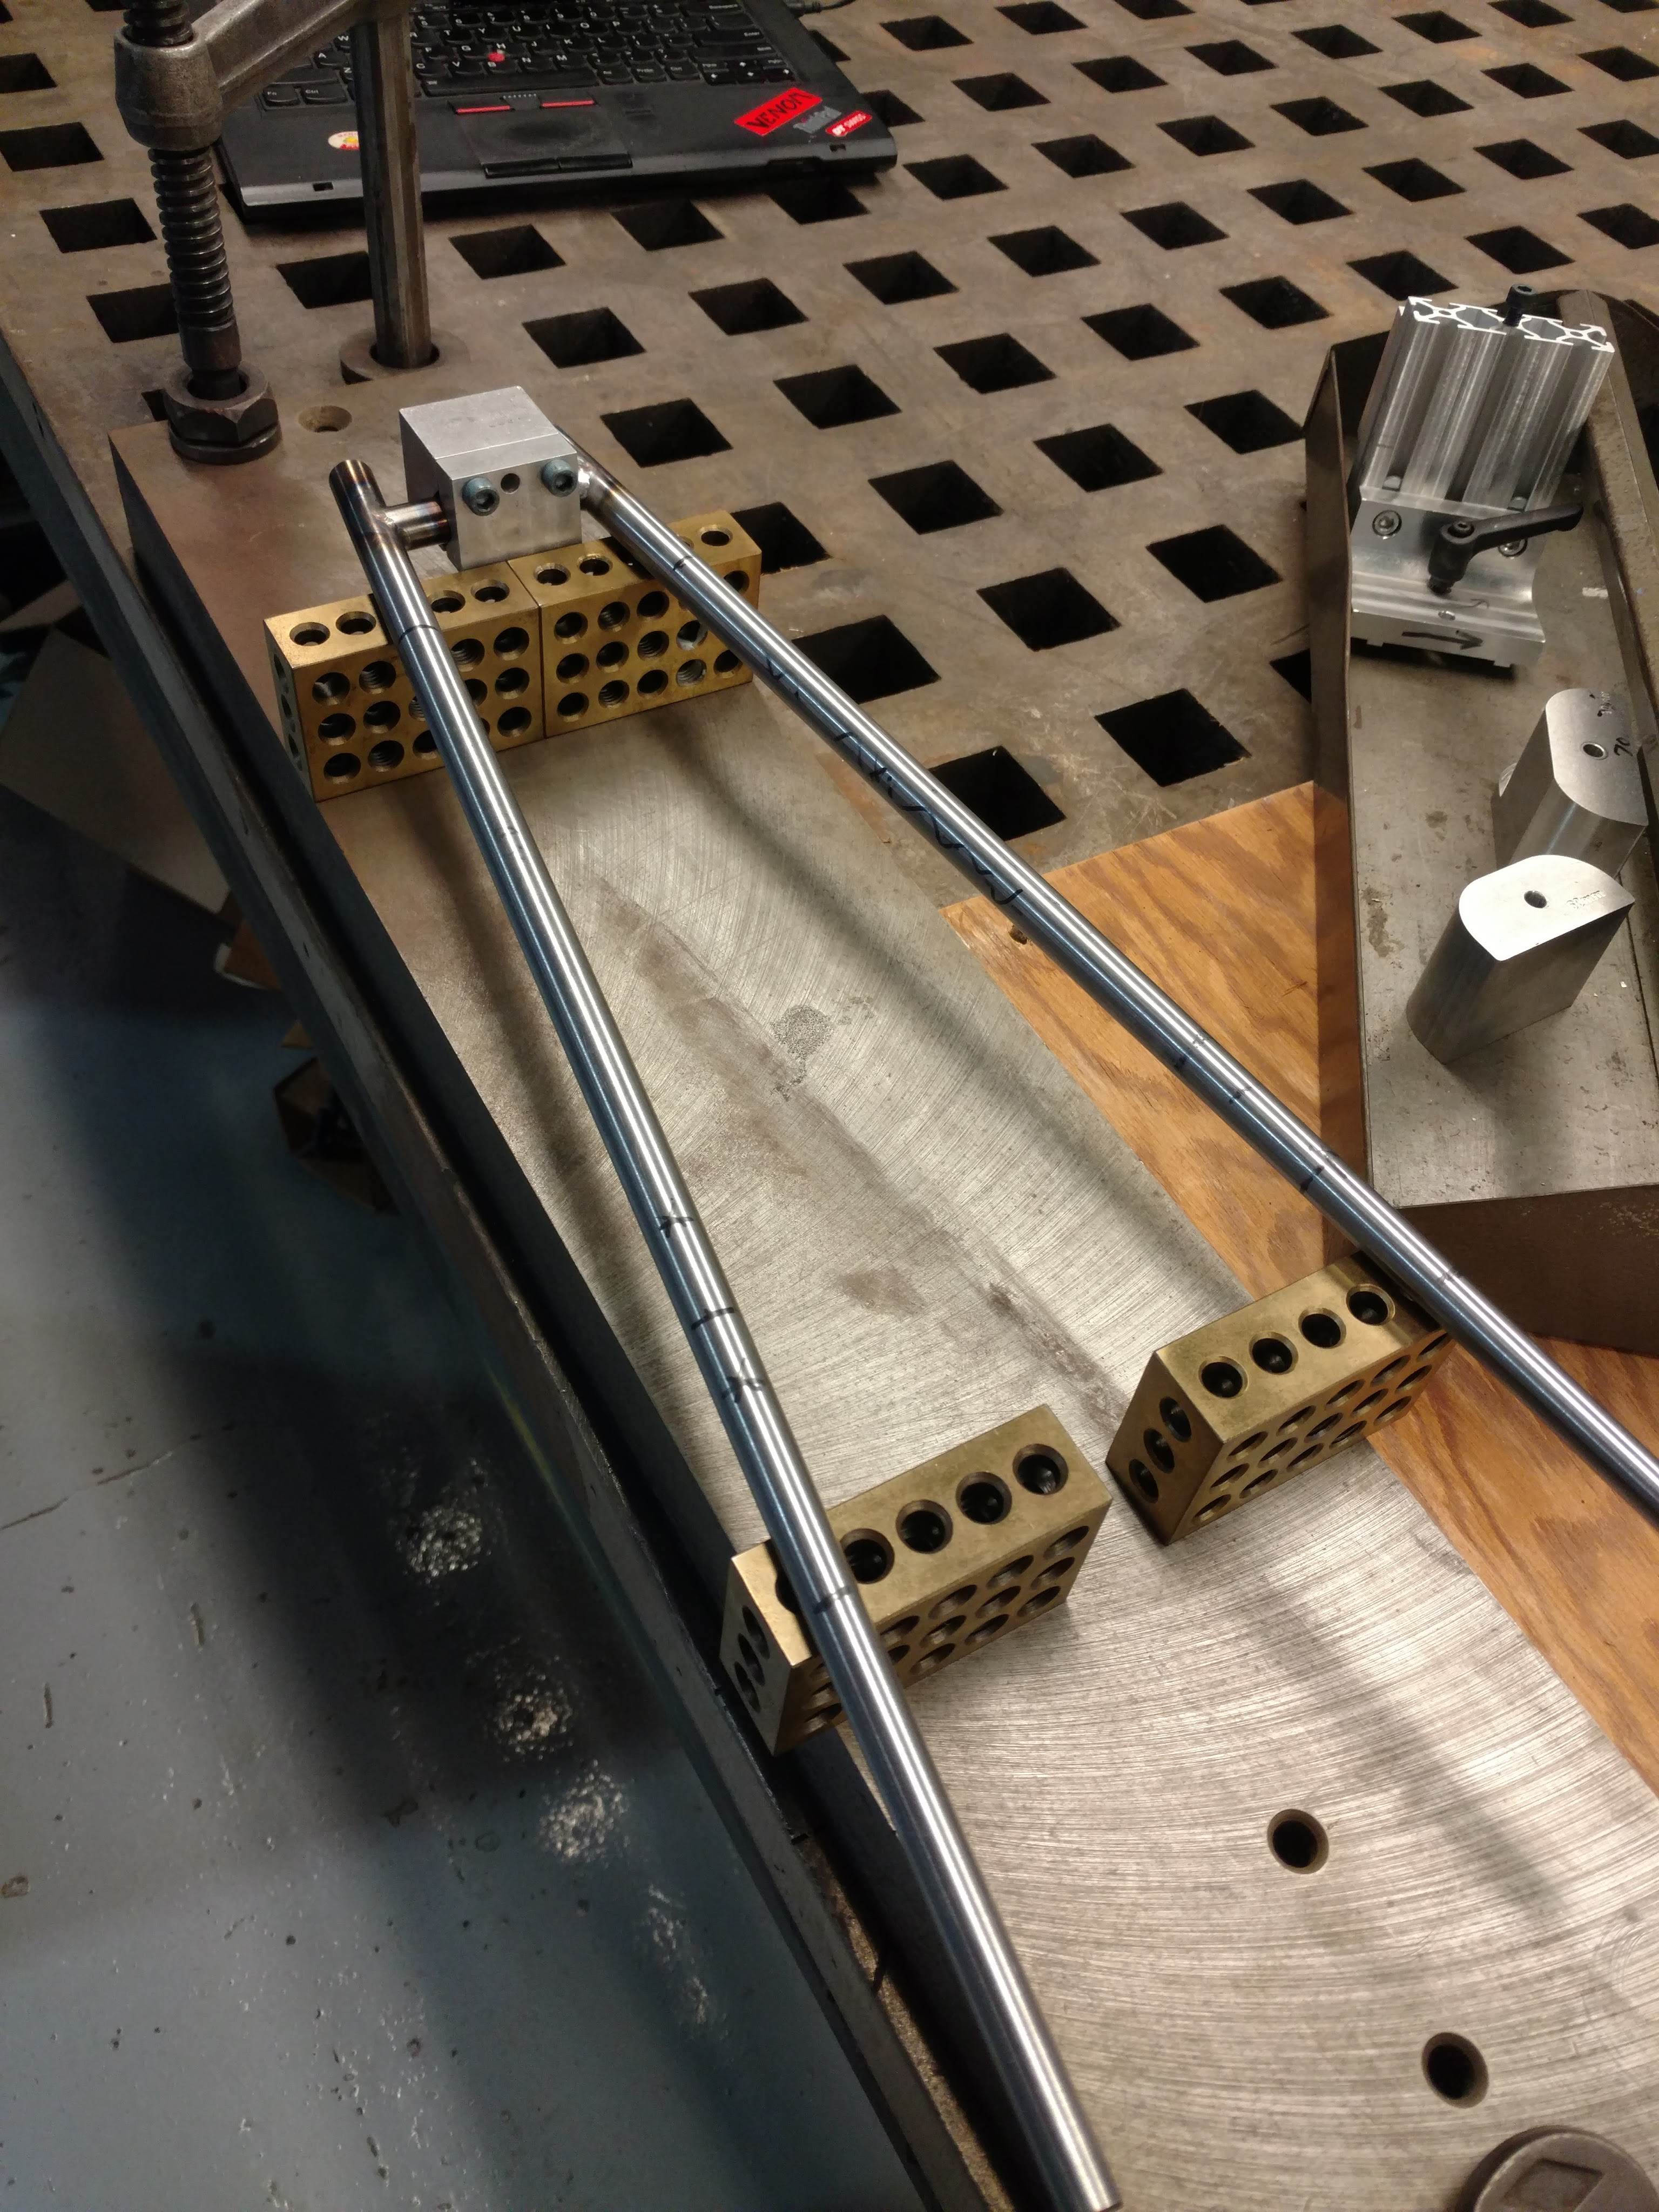
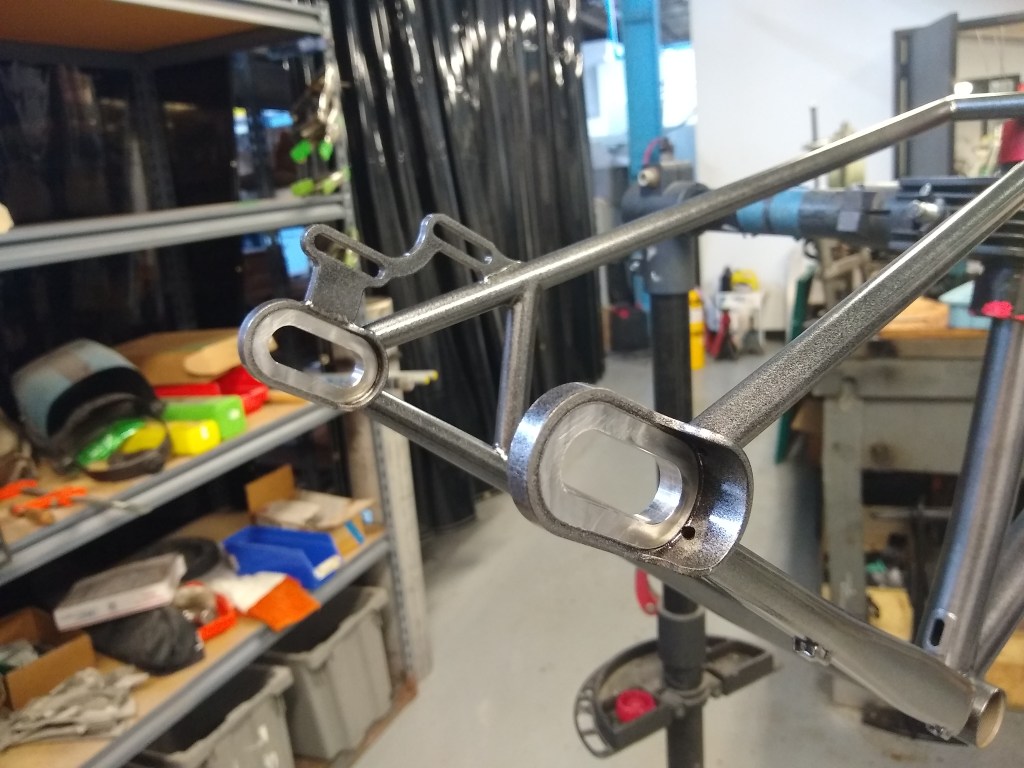
Fabricate wishbone seatstay sub-assembly

Mitering the vertical wishbone piece
Mitering the horizontal wishbone piece
Checking alignment after welding the seatstays on

Wishbone seatstay sub-assembly for road caliper brakes

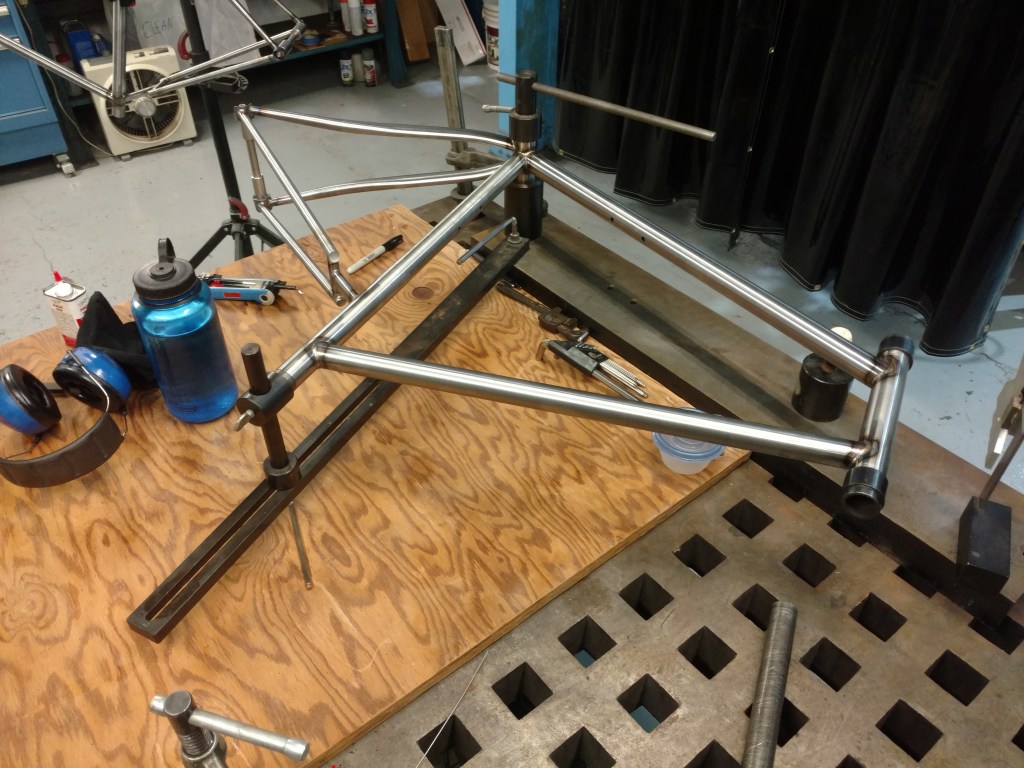
Tack weld frame in fixture

Hardtail 29er in my frame fixture about to be tacked together
Seat stays about to be tacked into place

Pull the tacked frame out of the fixture and weld it together
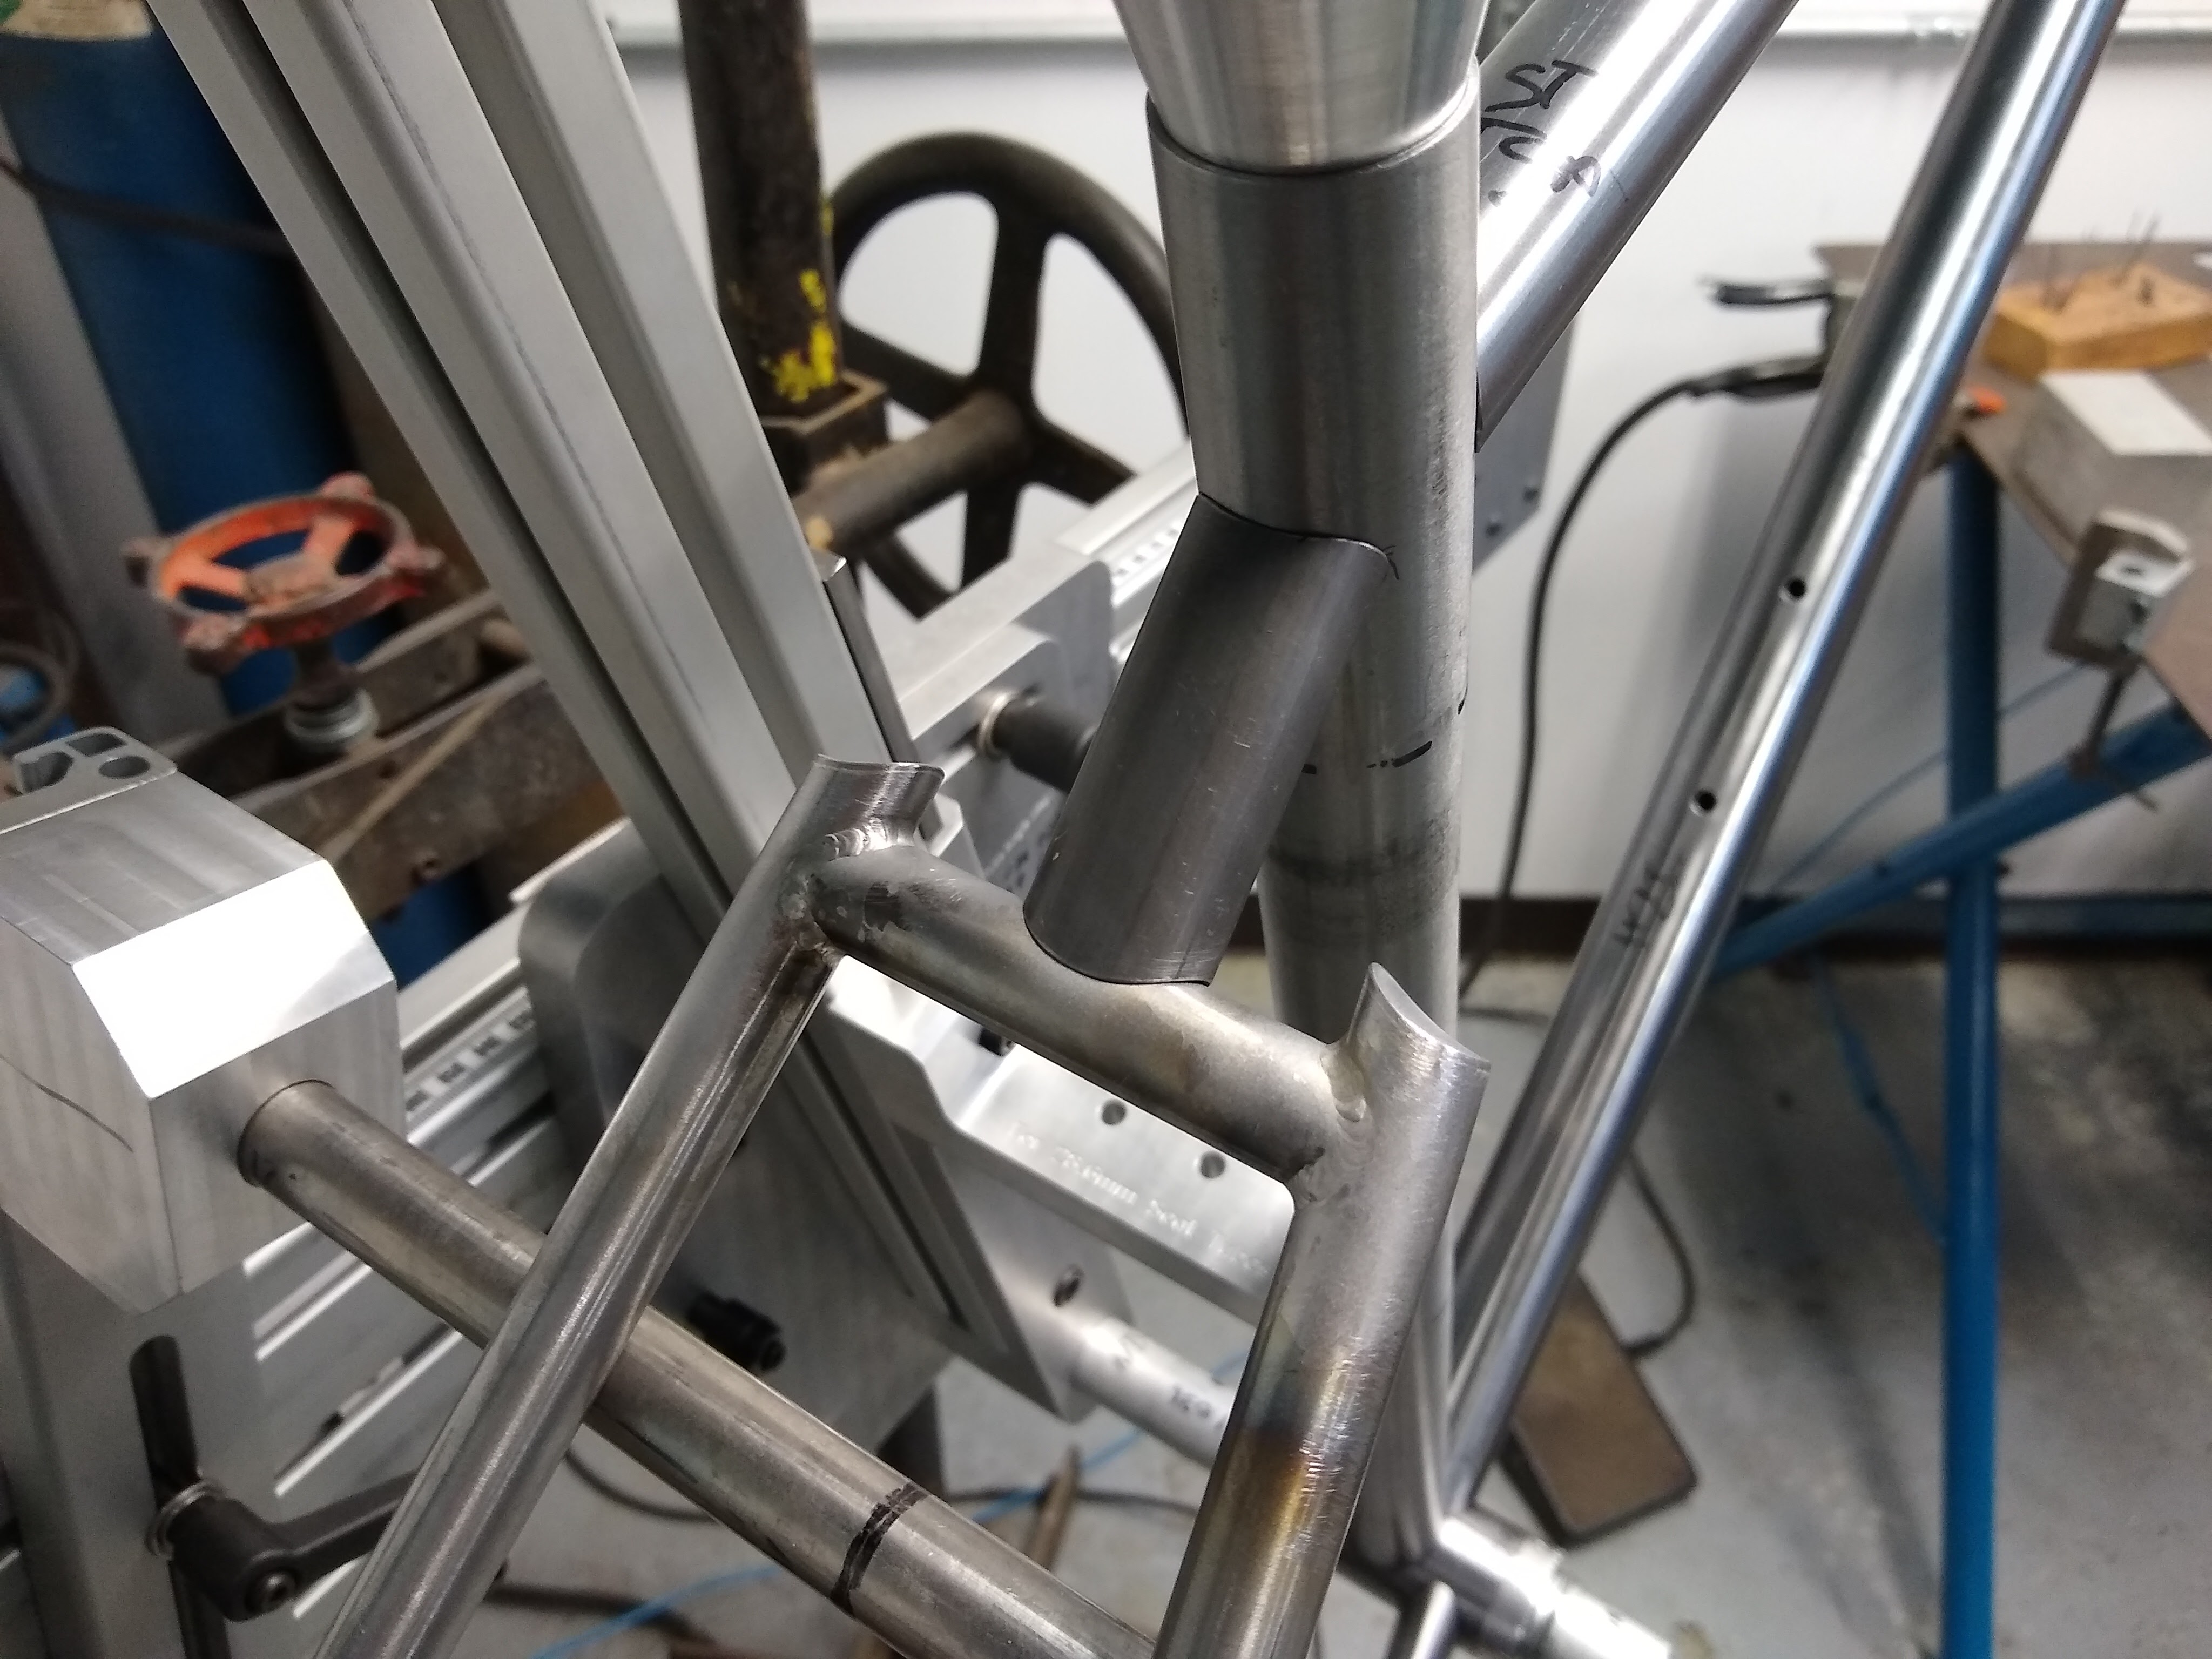
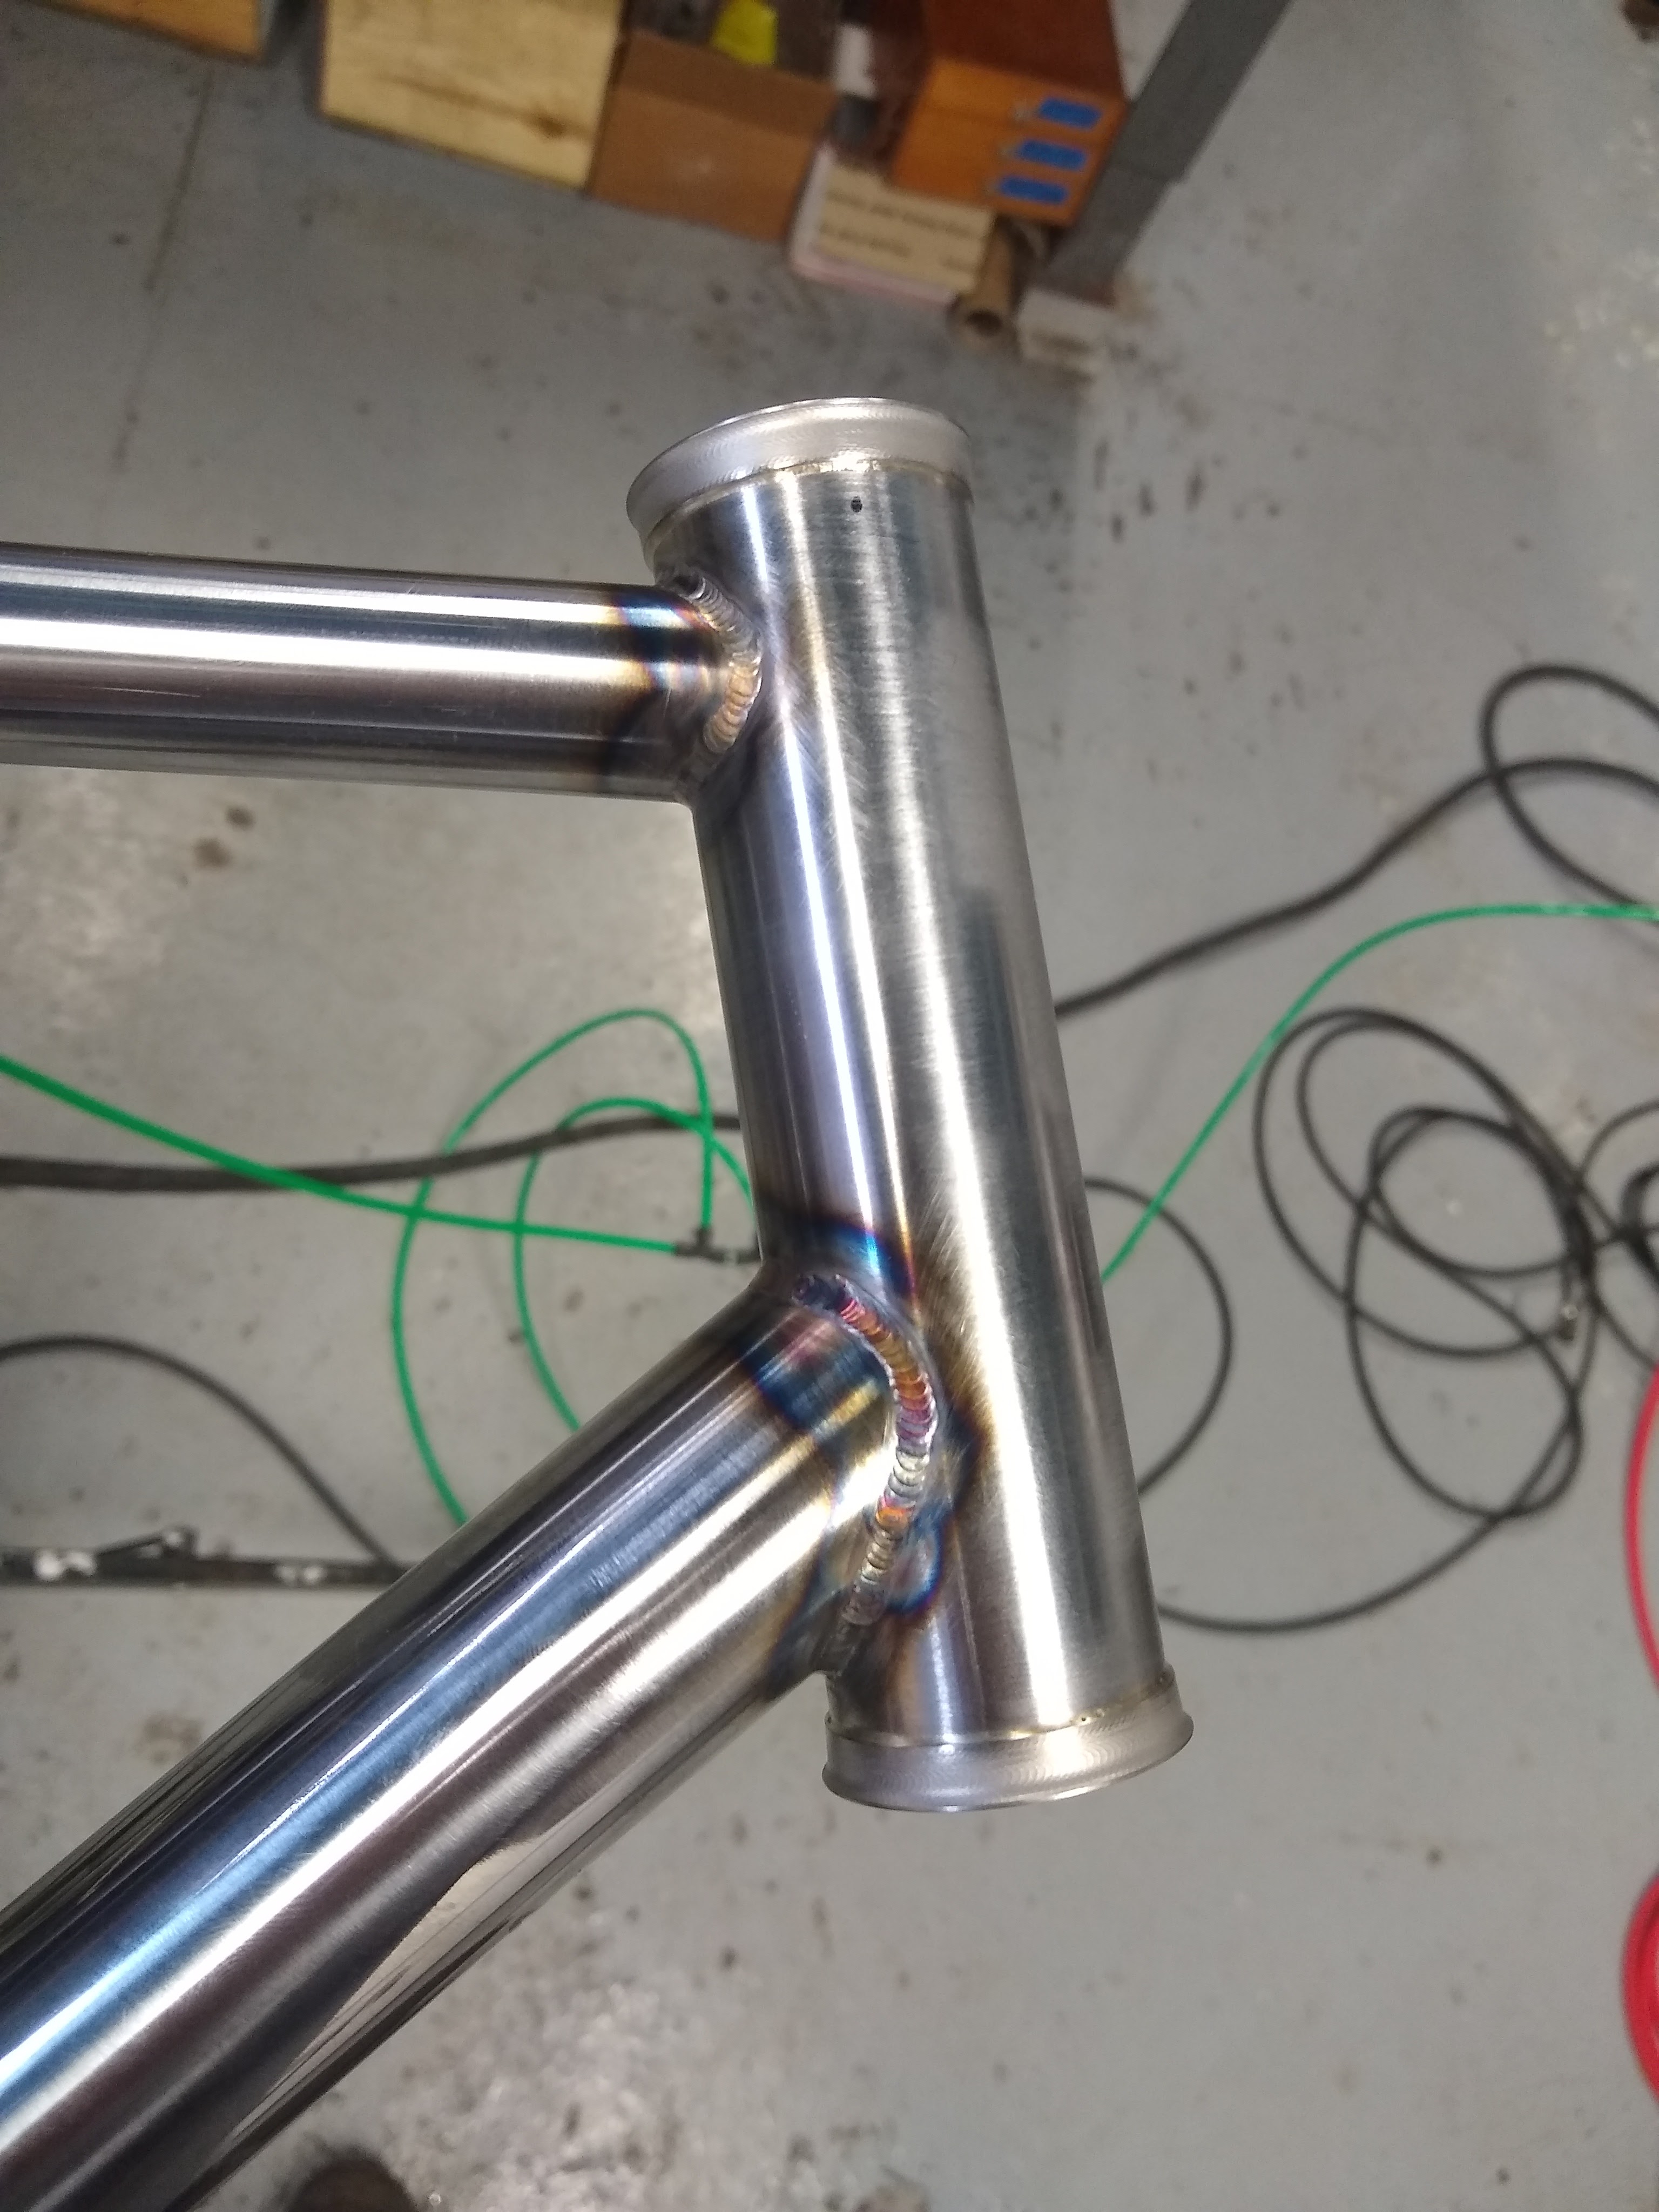
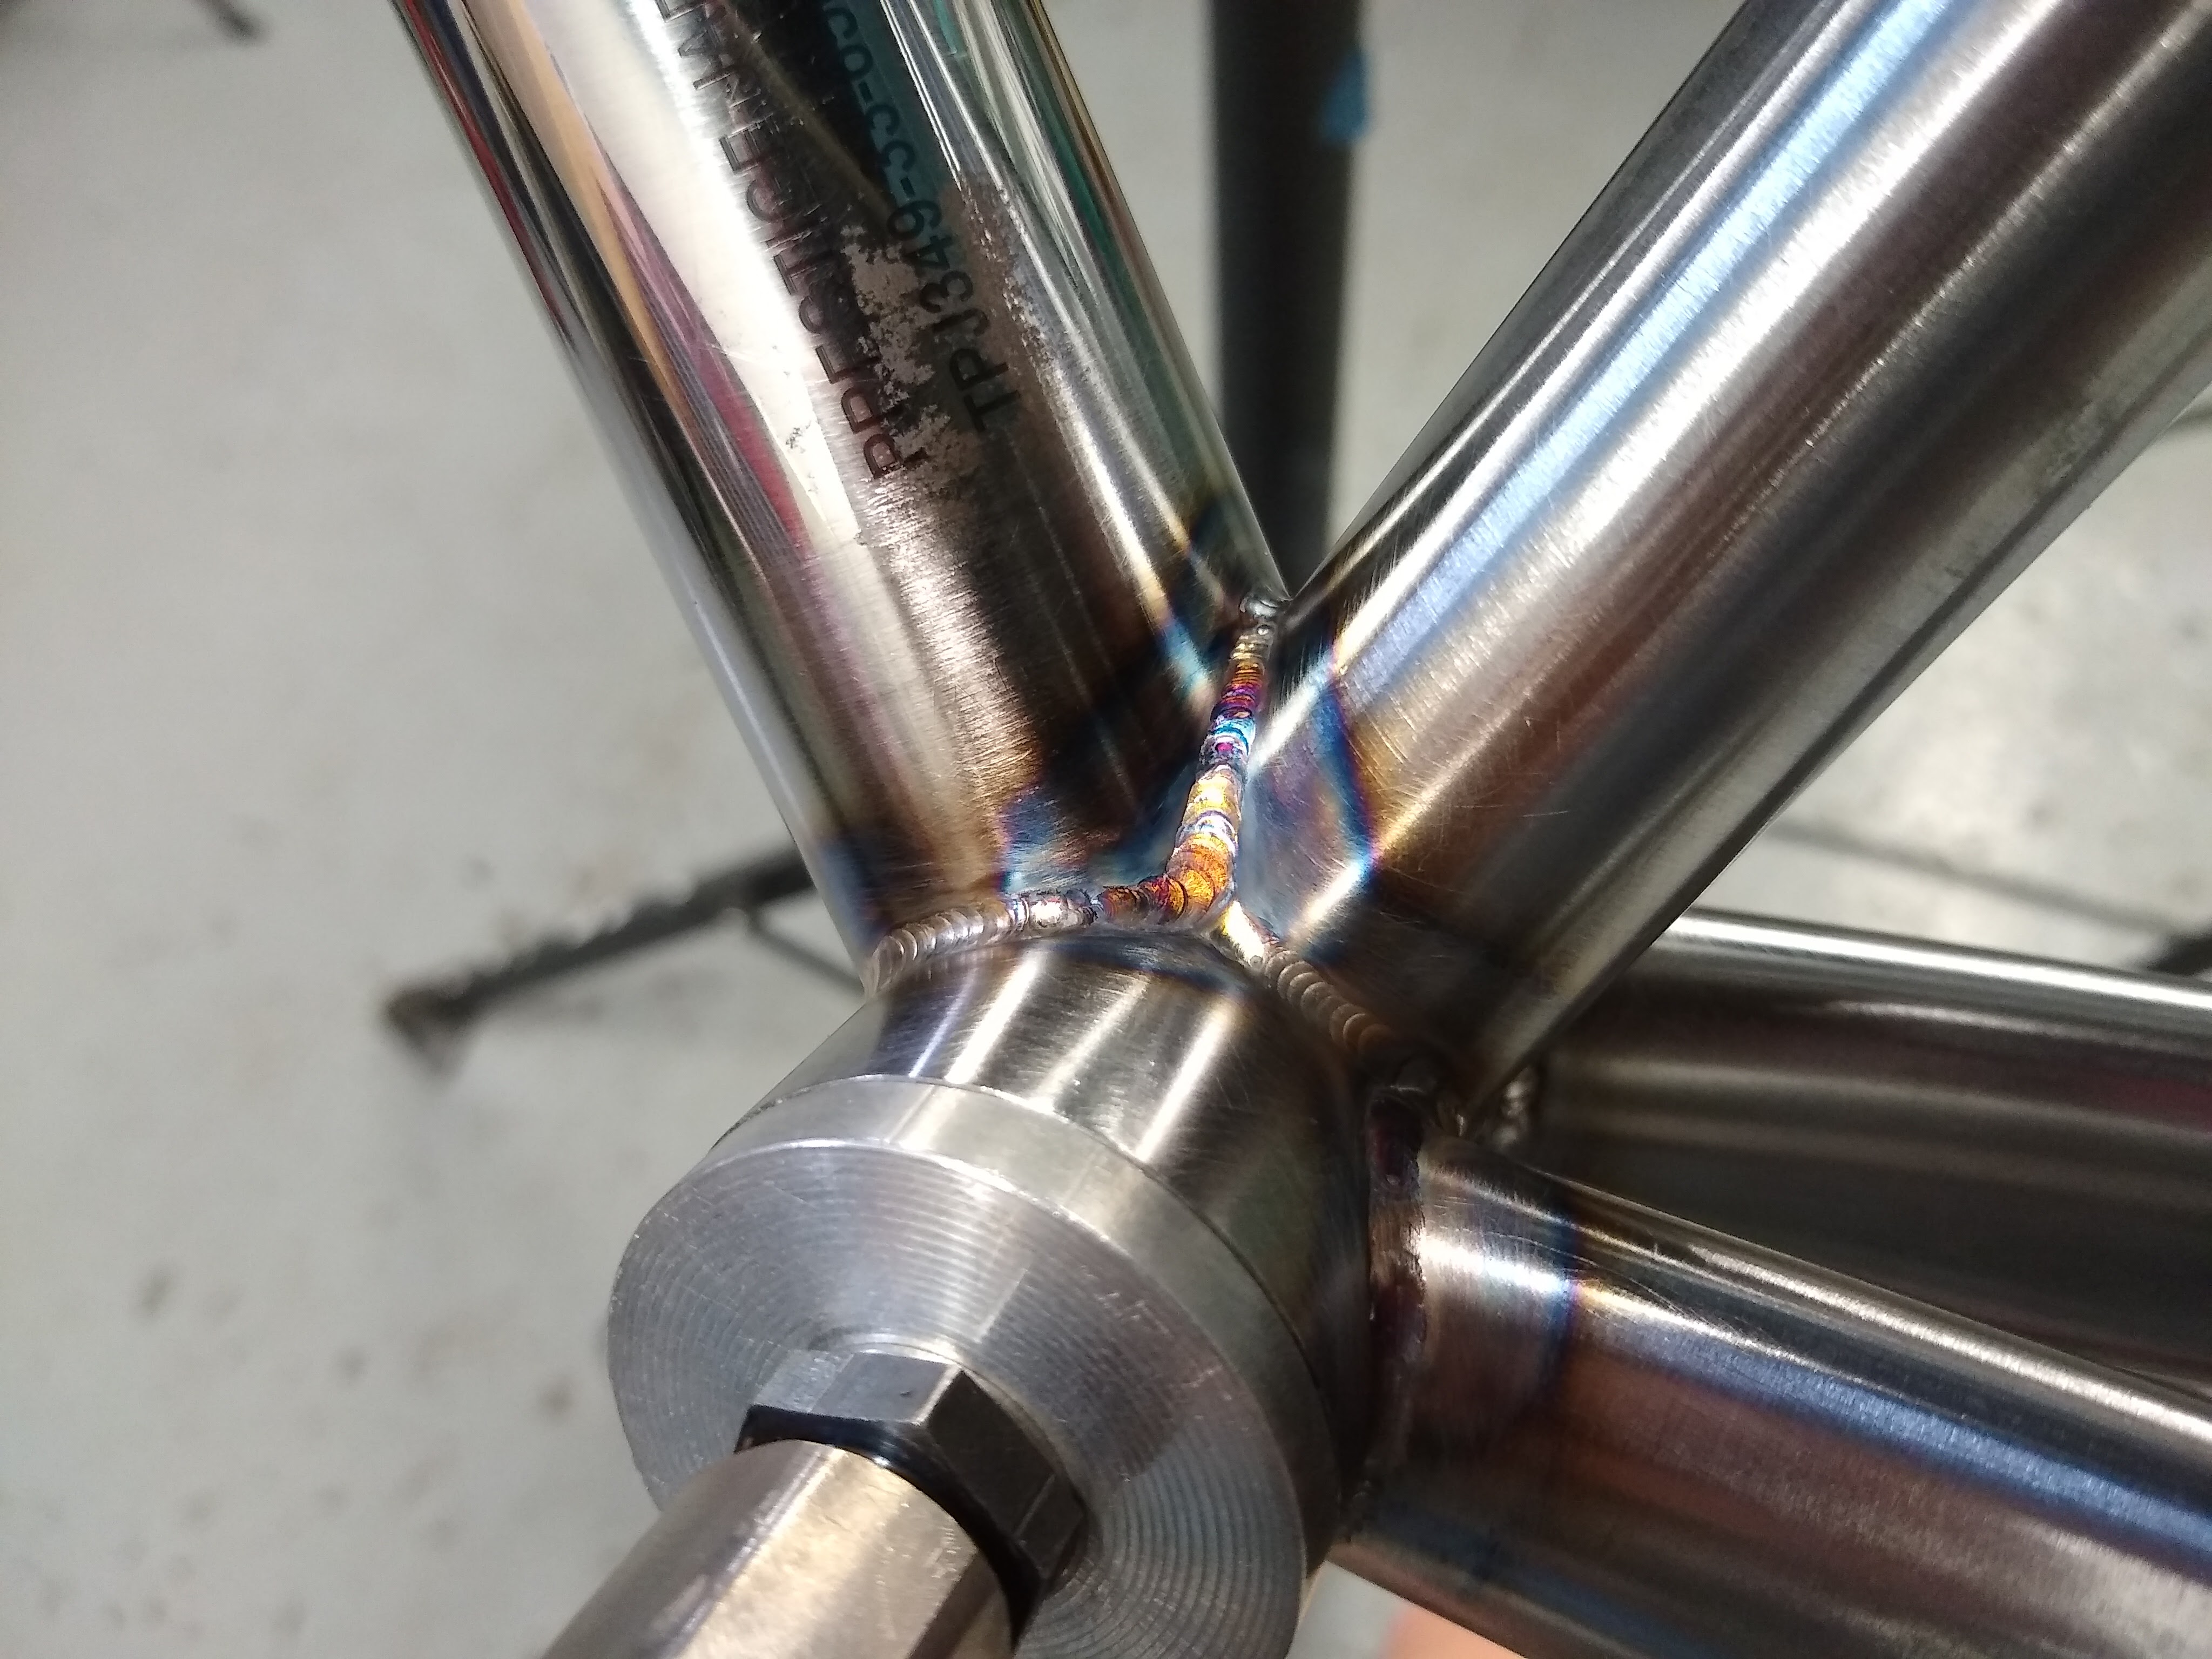
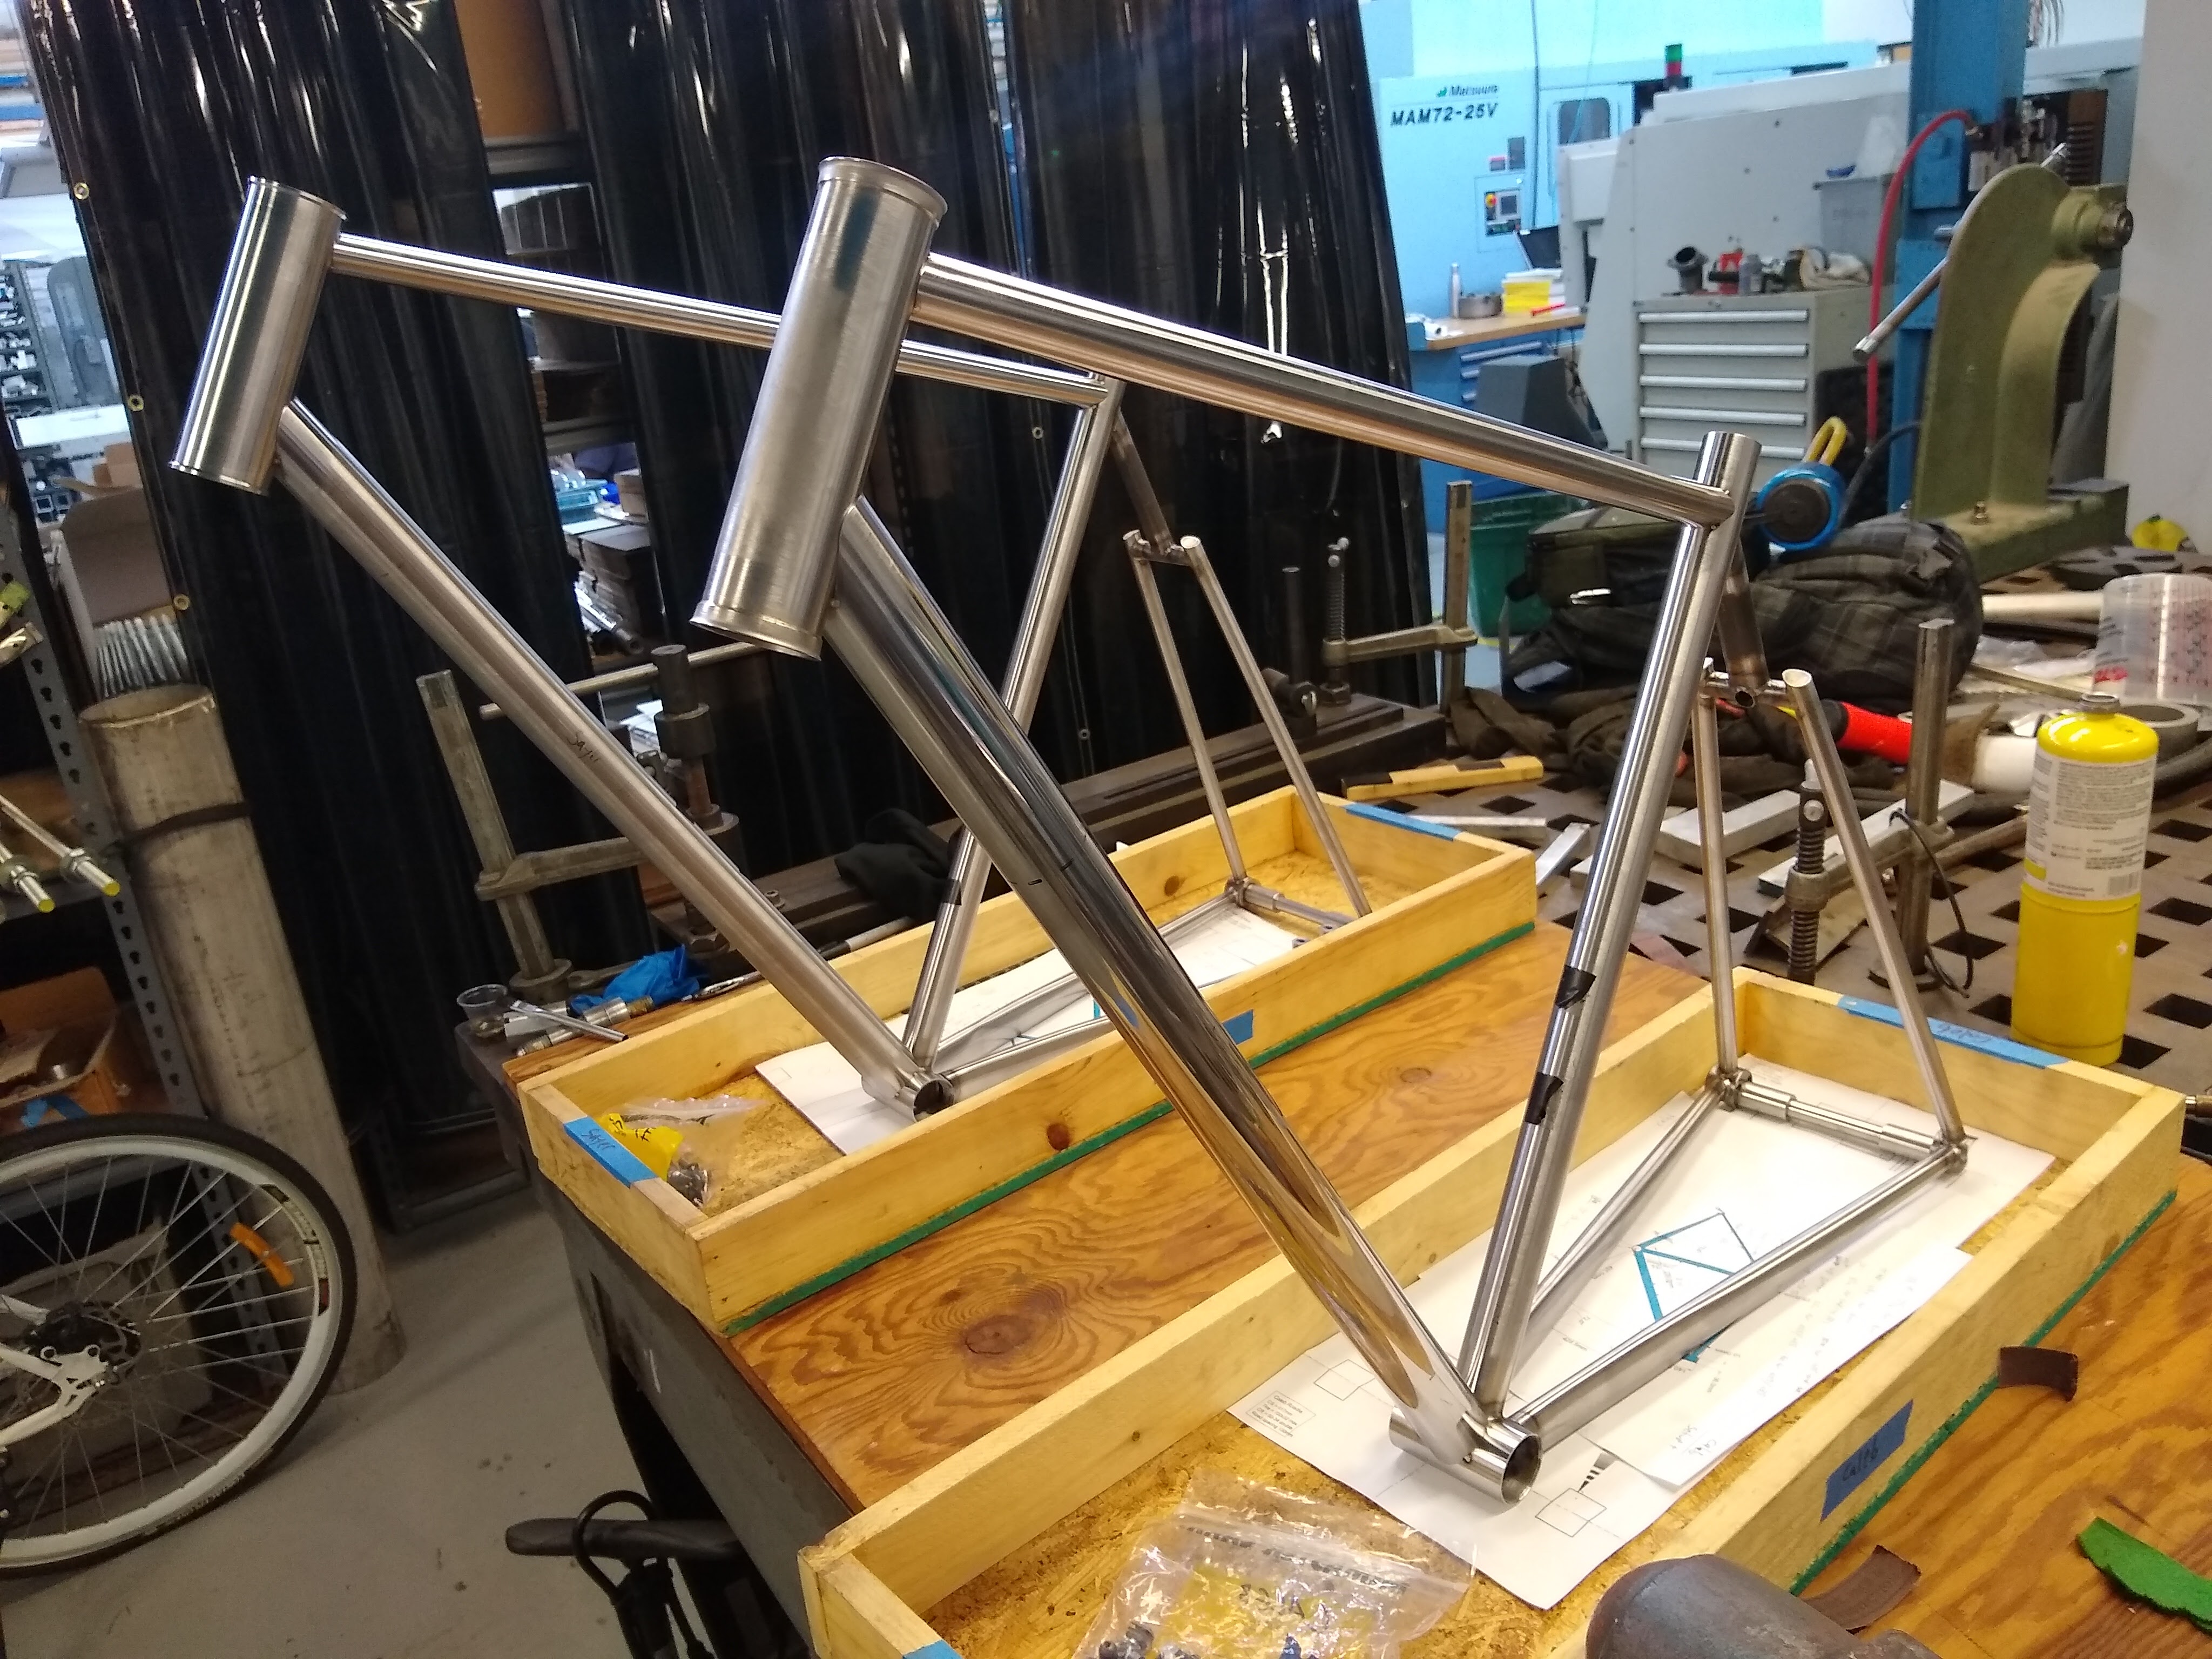
Head tube welds
DT/ST/BB junction welds
Two fully welded frames

Rough alignment check

A frame on the alignment table

Add all the bits and bobs. Brake mounts, water bottle bosses, fender mounts, cable guides, rack mounts, seat post clamp, etc.

“Fender noodle”
Shifter cable stops
ISO disc brake tab
Brace
External water bottle bosses
Fender mounts

Face, chase, and ream bottom bracket, head tube, and seat tube.

Seat tube reaming

Final frame alignment check

Yes this is indeed the same alignment picture I used before. Somehow this is the only picture I have of this step at the time of writing this.

Mill seat tube slot

Slotting a seat tube on the vertical mill
One slotted seat tube

Take frames to the powder coater or painter

Once frames get back, face off powder/paint from bearing surfaces and spray rust inhibitor inside the frame

Bottom bracket

Facing powder off of a head tube
Sliding dropout inserts need a clean surface to slide on
Framsaver aka Amsoil MPHD

And that’s it. Ready to be built up with some cool parts and taken for a ride.

Head over to the Gallery page to see some nifty completed builds

%d bloggers like this: